Making your own curtains may seem difficult at first, but sewing curtains is often much easier than many beginners expect.
If you're looking for a simple way to create custom window treatments that fit your style and budget, this guide will help.
In this article, you'll learn how to measure windows, choose the right fabric, and sew curtains step by step.
I’ll also cover beginner-friendly curtain styles, common mistakes to avoid, and tips for a polished finish.
This guide is built on practical sewing techniques that have helped many beginners complete their first curtain project with confidence.
Why Sew Your Own Curtains?
Sewing your own curtains gives you more control over the final look of your space while helping you stay within your budget.
Store-bought curtains do not always fit your windows perfectly, and finding the right color, pattern, or fabric can be challenging.
When you make your own curtains, you can choose every detail to match your home and personal style. It is also a great way to learn basic sewing skills through a practical project.
Many curtain designs use simple straight stitches, making them suitable for beginners.
If you want lightweight curtains for a bright room or blackout panels for extra privacy, sewing your own curtains allows you to create custom window treatments that meet your exact needs.
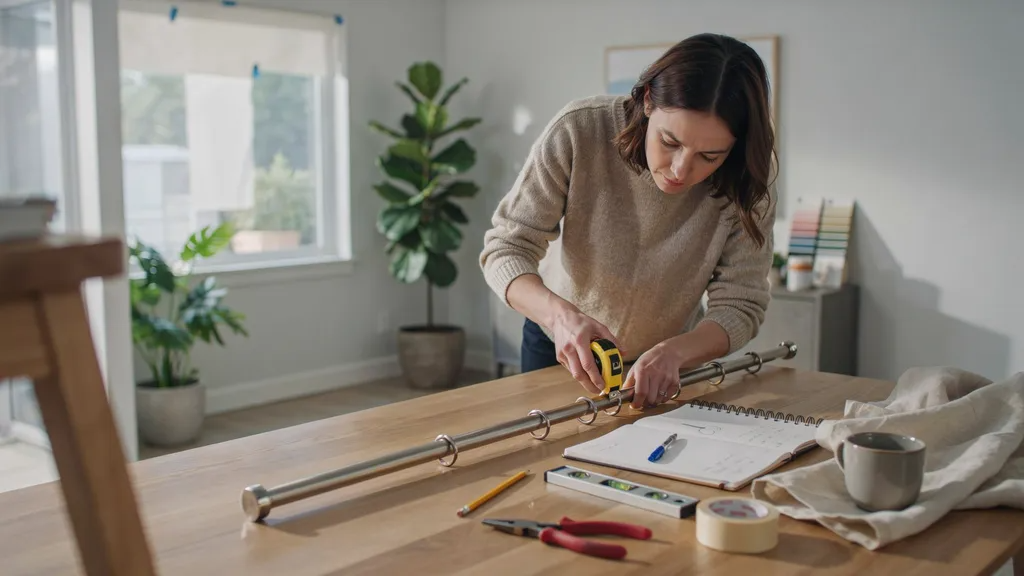
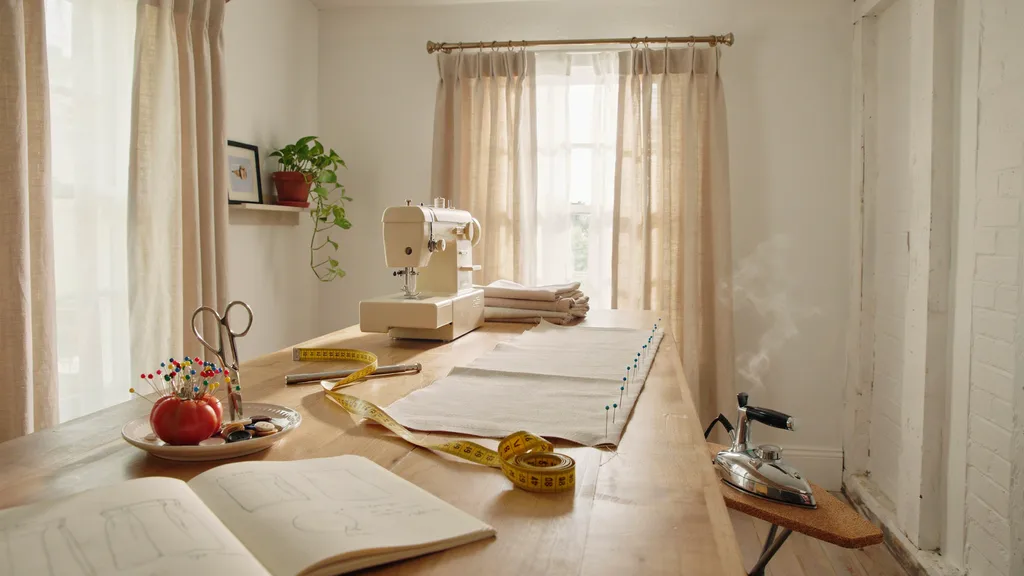
Tools and Materials Needed for Sewing Curtains
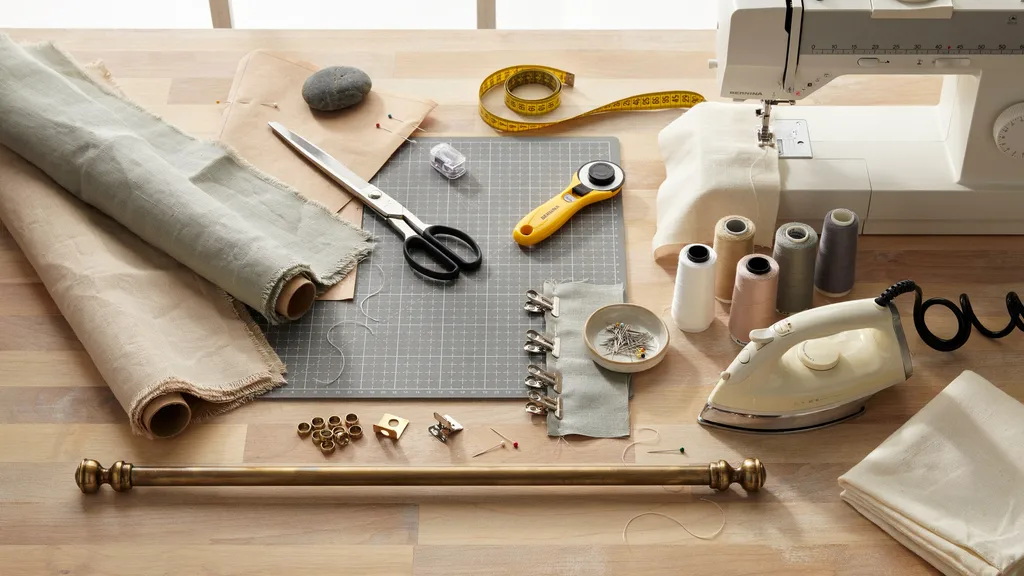
Having the right tools and materials before you start can make the sewing process smoother and more enjoyable.
- Fabric
- Measuring Tape
- Fabric Scissors or Rotary Cutter
- Sewing Machine
- Thread
- Pins or Fabric Clips
- Iron and Ironing Board
- Curtain Rod and Hardware
Choosing the Right Fabric for Curtains
The fabric you choose affects how your curtains look, hang, and function. Some fabrics create a light and airy feel, while others provide privacy, insulation, or room-darkening benefits.
How Fabric Weight Affects Curtain Appearance
Fabric weight plays a big role in how curtains drape. Lightweight fabrics create a soft, flowing look, while heavier fabrics provide structure, fullness, and better light control.
| Fabric Type | Best For | Benefits | Considerations |
| Cotton | Living rooms, bedrooms, kitchens | Easy to sew, versatile, breathable, available in many colors and patterns | May wrinkle and can fade over time in direct sunlight |
| Linen | Living rooms, dining rooms, modern interiors | Natural texture, soft appearance, lightweight feel | Wrinkles easily and may require more maintenance |
| Polyester | Most rooms in the home | Durable, affordable, wrinkle-resistant, easy to clean | Less breathable than natural fabrics |
| Blackout Fabric | Bedrooms, nurseries, media rooms | Blocks light, improves privacy, helps with insulation | Heavier fabric that may require stronger curtain hardware |
| Sheer Fabric | Living rooms, sunrooms, layered window treatments | Allows natural light while adding softness and style | Offers limited privacy, especially at night |
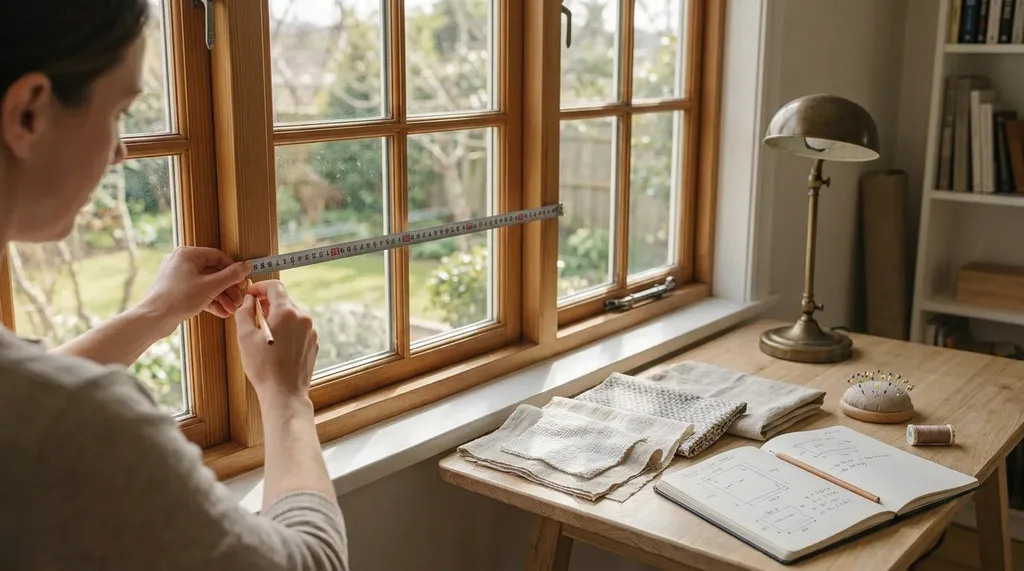
How to Measure Windows for Curtains
Accurate measurements are essential for curtains that fit properly and look professional. Taking a few careful measurements before cutting fabric can help you avoid costly mistakes.
- Measure Window Width : Measure the width of the window and add extra width if you want fuller, more gathered curtains.
- Measure Curtain Length : Decide where you want the curtains to end, such as at the windowsill, below the sill, or at the floor, then measure accordingly.
- Decide on Curtain Fullness : For a fuller appearance, plan for curtain panels that are 1.5 to 3 times the width of the window.
- Calculate Fabric Requirements : Use your width and length measurements, plus extra fabric for hems and seams, to determine how much fabric you need.
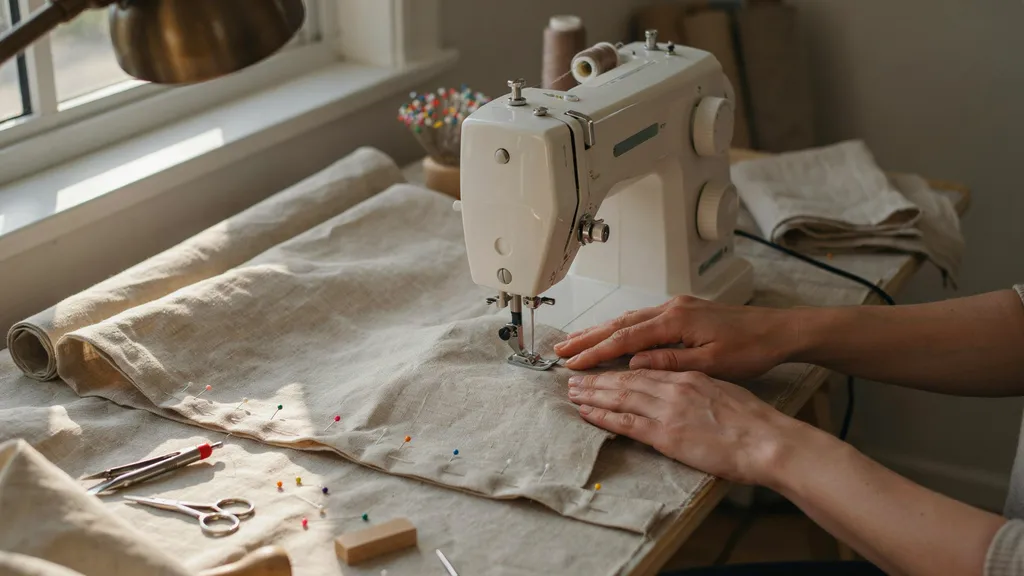
Step-by-Step Guide to Sewing Curtains
Follow these simple steps to turn your fabric into custom curtains that fit your windows perfectly. Taking your time with each step will help you achieve a neat and professional-looking result.
Step 1: Measure and Plan Your Curtains
Start by measuring your window width and desired curtain length. Decide how full you want the curtains to look and calculate the fabric needed.
Planning ahead helps prevent mistakes and ensures you purchase enough material for the project.
Step 2: Wash and Prepare the Fabric
Wash and dry the fabric according to the manufacturer's instructions before sewing. This helps prevent future shrinking after the curtains are finished.
Once dry, iron the fabric to remove wrinkles and create a smooth working surface.
Step 3: Cut the Fabric to Size
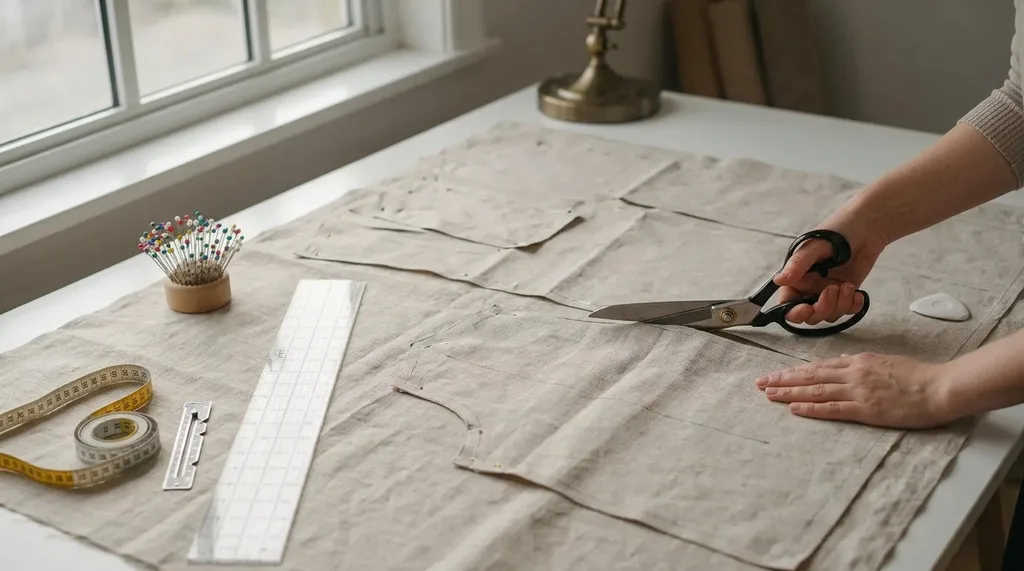
Lay the fabric flat on a large surface and mark your measurements carefully. Use fabric scissors or a rotary cutter to cut straight, clean edges.
Double-check measurements before cutting to avoid wasting fabric.
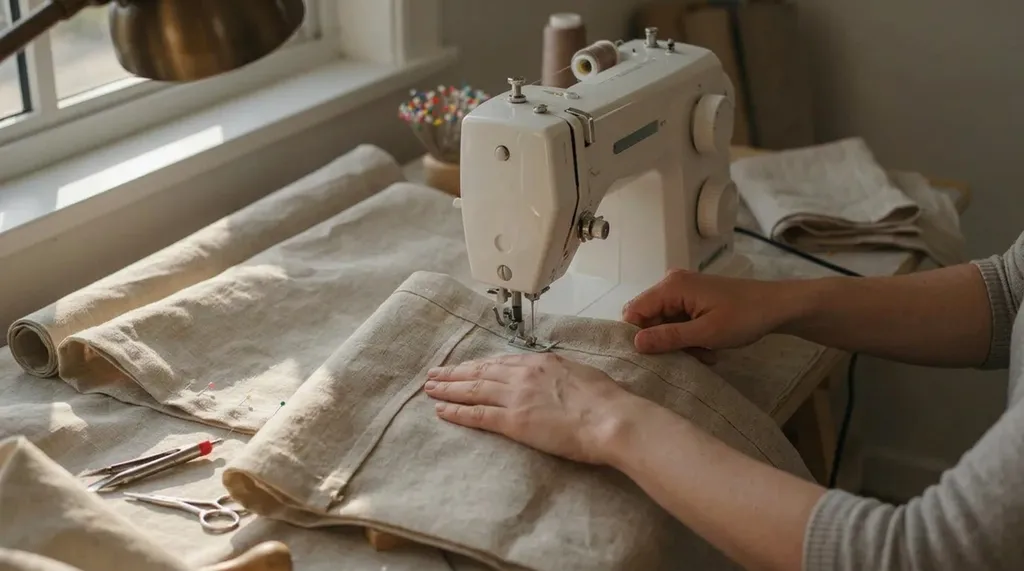
Step 4: Hem the Side Edges
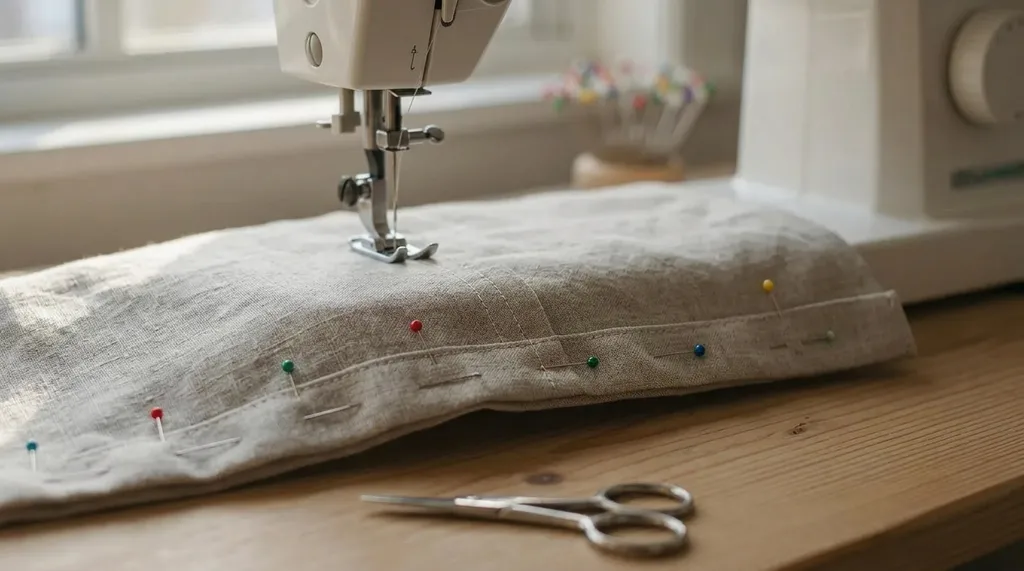
Fold each side edge inward, then fold again to hide the raw edge. Pin the folds in place and sew a straight stitch along the length of each side.
This creates clean, finished edges that resist fraying.
Step 5: Sew the Bottom Hem
Fold the bottom edge up twice to create a wider hem that adds weight and structure. Pin the hem securely before sewing.
A well-made bottom hem helps the curtains hang neatly and evenly.
Step 6: Create the Top Curtain Pocket or Header
Fold the top edge down to create a pocket for the curtain rod or the header style you prefer. Sew across the folded edge using a straight stitch.
Make sure the opening is wide enough for the curtain rod to slide through easily.
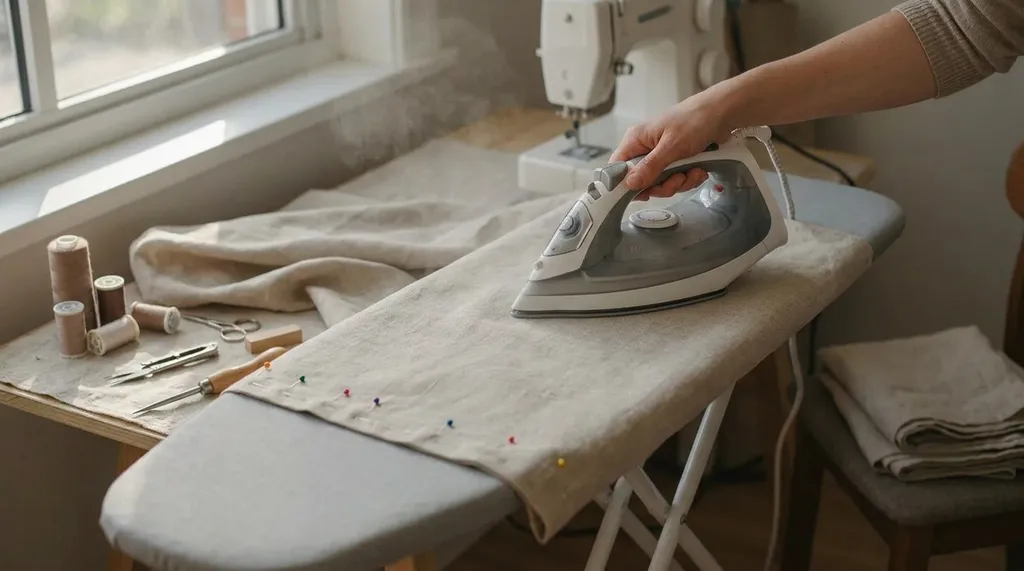
Step 7: Press the Seams
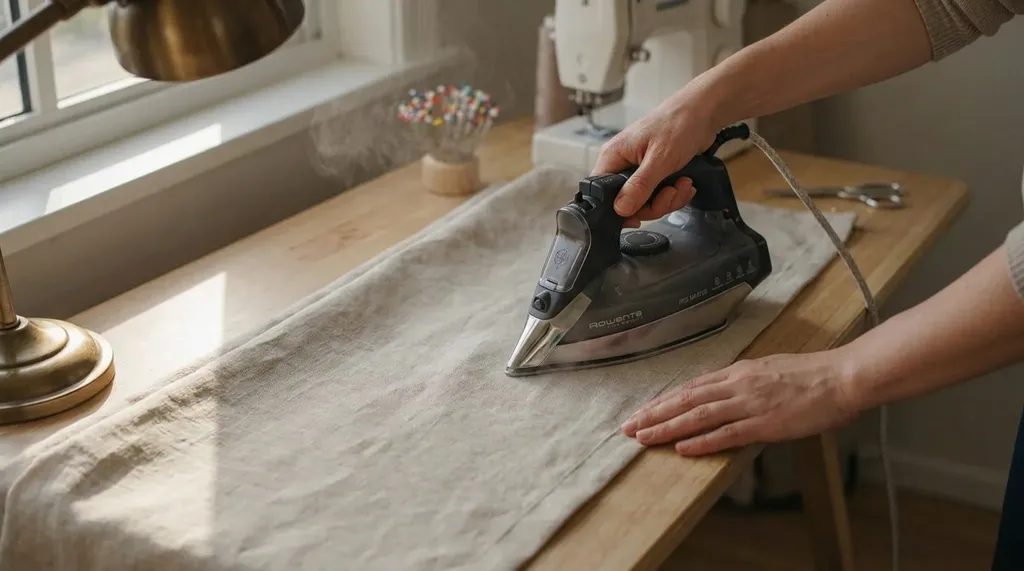
Use an iron to press all seams and hems flat after sewing. Pressing helps remove puckering and gives the curtains a cleaner appearance.
This simple step can make homemade curtains look much more polished.
Step 8: Hang and Adjust the Curtains
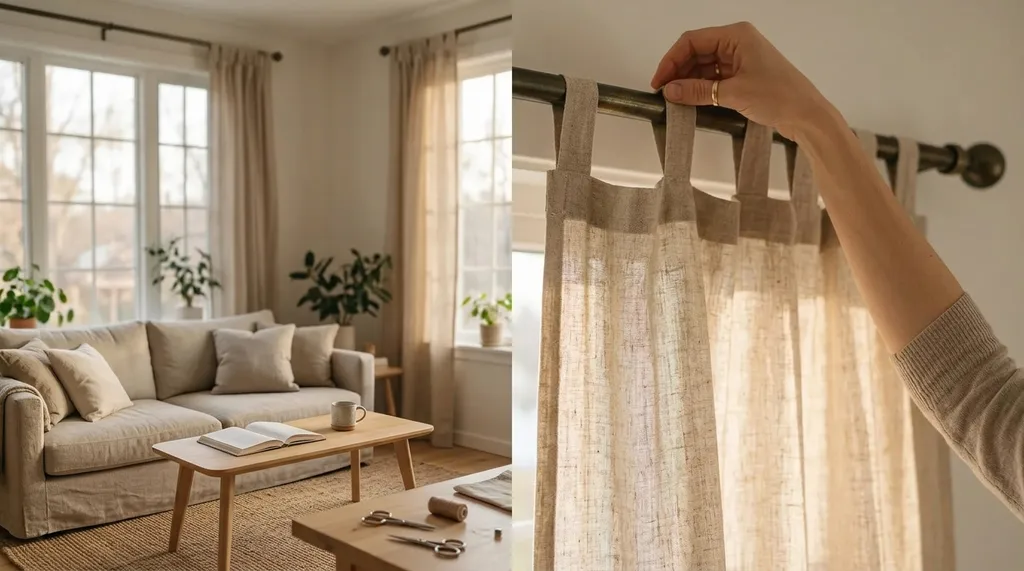
Slide the finished curtains onto the rod and hang them in place. Check that both panels hang evenly and make any small adjustments if needed.
Once hung, give the curtains a final press for a crisp, finished look.
Common Sewing Curtains Mistakes to Avoid
Avoiding a few common mistakes can save time, fabric, and frustration while helping your curtains look more polished.
- Skipping Fabric Prewashing : Unwashed fabric may shrink after the curtains are completed, affecting the final fit.
- Incorrect Measurements : Small measuring errors can lead to curtains that are too short, too narrow, or uneven.
- Uneven Hems : Inconsistent hems can make curtains look unprofessional and hang improperly.
- Using the Wrong Needle or Thread : Choosing the correct needle and thread helps create stronger, cleaner stitches.
- Not Pressing Seams While Sewing : Pressing as you sew improves accuracy and gives the finished curtains a neater appearance.
Tips for Professional-Looking DIY Curtains
A few simple techniques can help your homemade curtains look neat, polished, and custom-made.
- Use a Longer Stitch Length for Heavy Fabrics : Longer stitches often work better on thick fabrics and create smoother seams.
- Measure Twice Before Cutting : Double-checking measurements helps prevent costly mistakes and wasted fabric.
- Press Every Seam : Pressing each seam flat creates cleaner lines and a more professional finish.
- Match Thread Color Carefully : Using a thread color close to the fabric helps stitches blend in seamlessly.
- Hang Curtains Higher for a Taller Look : Mounting curtain rods above the window can make ceilings appear higher and rooms feel larger.
Conclusion
Learning sewing curtains is a rewarding project that can add a personal touch to your home.
If you're new to sewing, remember that every finished curtain starts with simple steps and a little patience.
I’ve always found that handmade home projects feel more meaningful because you can see your effort in the final result.
Imagine looking at your windows and knowing you created those curtains yourself. Start with a simple design, enjoy the process, and build your skills along the way.
If this guide helped, leave a comment, share it, or try more DIY sewing ideas.
Frequently Asked Questions
Is sewing curtains suitable for beginners?
Yes, curtains are one of the easiest sewing projects to start with. Most designs use straight stitches and simple construction methods.
How much fabric do I need for sewing curtains?
The amount depends on your window size and desired fullness. Measure carefully and add extra fabric for hems and seams.
What is the easiest curtain style to sew?
Rod pocket curtains are often the simplest option. They require minimal sewing and work well for beginners.
Can I sew curtains without a sewing machine?
Yes, curtains can be sewn by hand if needed. However, a sewing machine makes the process faster and helps create more consistent stitches.
Should I wash fabric before sewing curtains?
Yes, prewashing is recommended for most fabrics. It helps prevent shrinking and ensures the curtains maintain their intended size after cleaning.