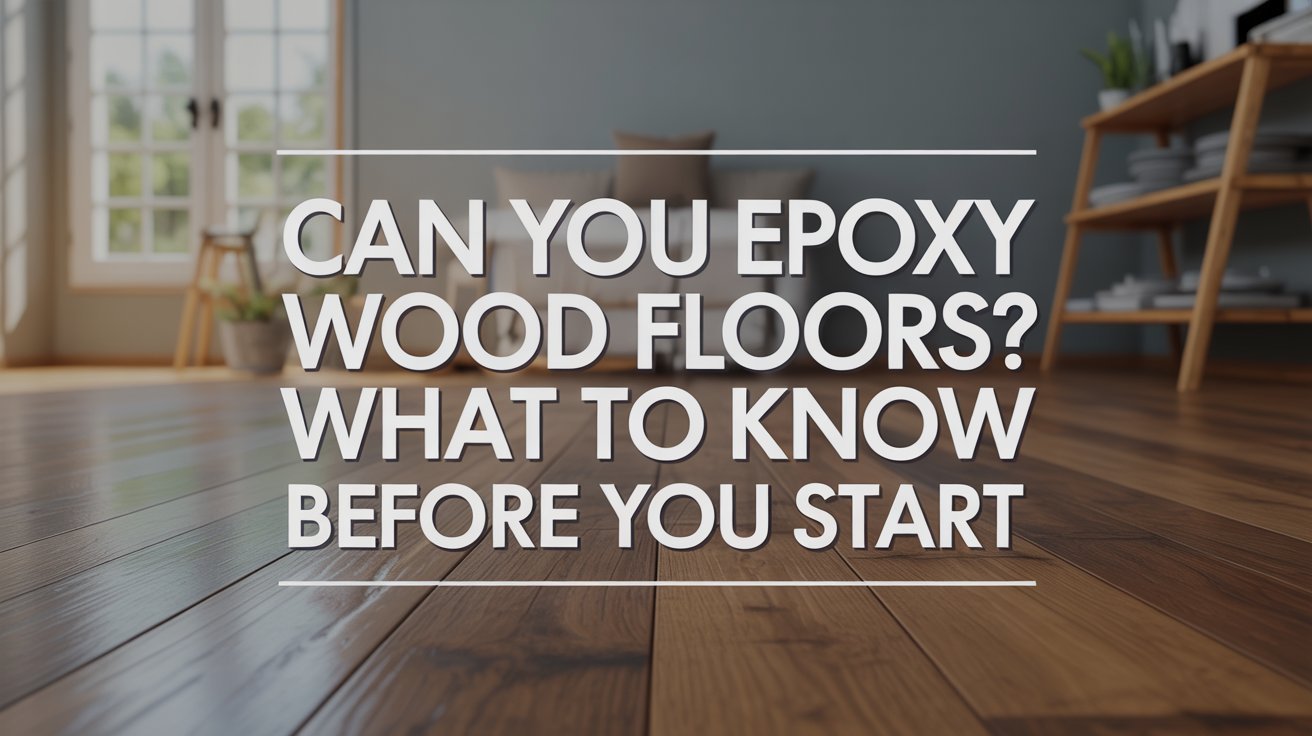
Thinking about coating your wood floor with epoxy? Many homeowners wonder: can you epoxy wood floors? The short answer is yes, but it’s not as simple as pouring and spreading.
Wood floors present unique challenges. Moisture trapped inside the wood, air pockets between boards, and natural wood movement can all cause problems. These issues lead to bubbles, peeling, and a ruined floor if you’re not careful.
This guide covers everything you need to know. You’ll learn why it’s tricky, when it makes sense, and how to do it right. We’ll cover the benefits, risks, and whether to hire a pro or do it yourself.
Can You Epoxy Wood Floors?

Yes, you can epoxy wood floors, including both hardwood and plywood surfaces. The process works well when done correctly, but it requires more preparation than epoxying concrete. You need to address moisture content, seal every tiny gap, and use the right primer for wood substrates.
The main challenge comes from wood’s natural properties. Unlike concrete, wood holds moisture and has air pockets. When epoxy cures, heat from the chemical reaction can cause trapped air and moisture to escape, creating bubbles and weak spots in your coating.
Can you epoxy wood floors successfully? Absolutely, especially in garages, sheds, basements, commercial spaces, and kitchen floors. These areas benefit most from epoxy’s durability and water resistance. Just remember that cutting corners during prep work will cost you later.
Why Epoxy on Wood Floors Is Challenging?

Wood and epoxy don’t naturally work well together. Understanding these challenges helps you prepare better and avoid costly mistakes.
The Moisture Problem
Wood naturally holds water, even when it feels dry to the touch. When you apply epoxy over wood, the coating traps this moisture inside.
As the epoxy cures, it creates heat. This heat causes trapped moisture to turn into vapor and try to escape. The result? Bubbles, blisters, and sections where the epoxy lifts away from the wood surface. In severe cases, the entire coating can fail within weeks.
The Air Factor
Air pockets exist between wooden planks and even inside the wood fibers themselves. As the coating cures and heats up, trapped air expands and tries to escape through the wet epoxy.
This escaping air creates surface streaks, pinholes, and rough spots. Temperature swings and high humidity during installation make these problems worse. This is why sealing every crack, gap, and joint becomes critical. Many people choose professional installation because controlling these factors requires experience.
Benefits of Applying Epoxy to Wood Floors

Despite the challenges, epoxy offers significant advantages.
- Protection from wear and tear: Epoxy creates a hard shield over your wood. It guards against chips, cracks, and splits from heavy foot traffic. This protection extends the lifespan of expensive hardwood floors.
- Chemical and stain resistance: The coating resists spills and chemicals that would damage bare wood. Food-safe formulas work well in kitchens and restaurants.
- Appearance enhancement: Clear coatings let the natural wood grain shine through. Decorative options include metallic finishes and colored pigments.
- Easy maintenance: Epoxy creates a waterproof surface. Cleaning is as simple as sweeping and mopping. No worries about water damage or staining.
These benefits make the extra work worthwhile.
The Epoxy Application Process Overview

Understanding the full process helps you decide if this project fits your skill level.
- Surface preparation: Start with a flat, level surface. Remove protruding nails and screws. Clean thoroughly without introducing excess water.
- Sealing and crack filling: Fill every gap, crack, nail hole, and screw hole. Use wood filler or epoxy paste. Missing even small openings lets air escape, creating defects.
- Primer application: Wood needs a flexible epoxy primer, especially plywood. Look for primers with at least 60% elongation. Choose between waterborne and solvent-based options. Some floors need multiple coats.
- Epoxy coating application: Mix resin and hardener precisely. Add pigments or additives at this stage. Spread with a squeegee, then smooth with a roller. Proper ventilation and safety gear are required.
- Optional protective top coat: Many installers add urethane coating for extra durability. Anti-slip finishes can be added for safety.
Following these steps gives you the best chance at success.
Risks and Potential Problems

Every flooring project has risks. Knowing them ahead of time helps you avoid problems.
- Installation failures: Poor preparation is the number one cause of coating failure. If you skip thorough sealing, the epoxy can delaminate from the wood. Bubbling and blistering from trapped air or moisture ruin the appearance. In worst cases, moisture trapped under failed epoxy can cause long-term damage to your wood floor.
- DIY challenges: This project has a steep learning curve. Many first-timers waste expensive materials. You need special tools like notched squeegees, spiked rollers, and proper mixing equipment. Safety gear, including respirators and chemical-resistant gloves, adds to the cost.
- Environmental factors: Temperature and humidity must stay within specific ranges during application and curing. Too cold, and the epoxy won’t cure properly. Too hot or humid, and you get more bubbles. Curing time changes based on temperature.
Understanding these risks helps you decide whether to proceed.
Professional Installation vs. DIY

Deciding between hiring a pro or doing it yourself depends on several factors. Understanding your skill level, project scope, and the complexity of the finish will help you make the right choice. Here’s a breakdown of when each option makes the most sense.
|
Hire a Professional |
DIY Approach |
|
If you haven’t worked with epoxy before, the learning curve can be expensive. Professionals know how to handle problems quickly. |
Sheds, single-car garages, and workshop floors let you practice techniques. Mistakes here won’t ruin expensive hardwood. |
|
Business floors need to meet building codes. Professional installers carry insurance and guarantees. |
These are more forgiving than finished hardwood and cost less to replace if something goes wrong. |
|
Metallic swirls and custom colors require artistic skill. Getting these effects right on the first try is nearly impossible without practice. |
Success requires hours of research. If you enjoy learning new skills and have the time, DIY can save money. |
|
Valuable hardwood floors benefit from professional help. Installation typically costs $3 to $12 per square foot. |
Best for those who enjoy learning opportunities and have time to practice techniques on less critical surfaces. |
An honest assessment of your skills helps you make the best decision.
Tips for Successful Epoxy Wood Floor Installation

These practical tips increase your chances of success.
- Start small: Practice on a test area before tackling visible spaces.
- Quality products: Buy epoxy specifically designed for wood substrates.
- Use a flexible primer: This step prevents most coating failures on plywood.
- Control temperature: Keep the room between 60 and 80 degrees with low humidity.
- Safety equipment: Use a respirator, chemical-resistant gloves, and good ventilation.
- Don’t rush curing: Each coat needs to fully cure before adding the next.
- Remove bubbles immediately: Use isopropyl alcohol or a heat gun to pop bubbles as they appear.
- Follow instructions: Read the technical data sheet completely before starting.
- Prepare tools first: Have everything ready before mixing epoxy.
These tips help you avoid common mistakes.
Conclusion
So, can you epoxy wood floors? Yes, and the results can be impressive when done right. The coating provides excellent durability and a beautiful finish that lasts for years.
Success comes down to preparation. Taking time to seal every gap, using the right primer, and controlling conditions make the difference between success and failure.
For large areas or valuable hardwood, professional installation makes sense. For smaller projects like garages or workshops, careful DIY work can save money.
Start small, invest in quality materials, and don’t rush. With patience and attention to detail, you can create a beautiful epoxy wood floor.
Frequently Asked Questions
How long does epoxy coating last on wood floors?
Properly installed epoxy on wood floors lasts 10 to 20 years. Lifespan depends on foot traffic, maintenance, and installation quality. High-traffic commercial areas may need recoating sooner than residential spaces.
Can you epoxy over existing finished hardwood floors?
Yes, but you must remove the finish first. Epoxy won’t bond to varnish, polyurethane, or stain. Sand the floor to bare wood, clean thoroughly, then proceed with sealing and priming steps.
Is epoxy flooring slippery on wood?
Natural epoxy finish can be slippery when wet. Add anti-slip additives to the final coat for safety in bathrooms, kitchens, or commercial spaces. These additives provide traction without significantly affecting appearance.
How much does it cost to epoxy a wood floor?
Materials cost $2 to $5 per square foot for DIY projects. Professional installation runs $3 to $12 per square foot. Final price depends on room size, wood condition, and decorative options chosen.
Can epoxy be removed from wood floors if I change my mind?
Removing epoxy is difficult and often damages the wood underneath. Methods include grinding, chemical strippers, or heat, but none work perfectly. Consider epoxy a permanent choice before applying it.