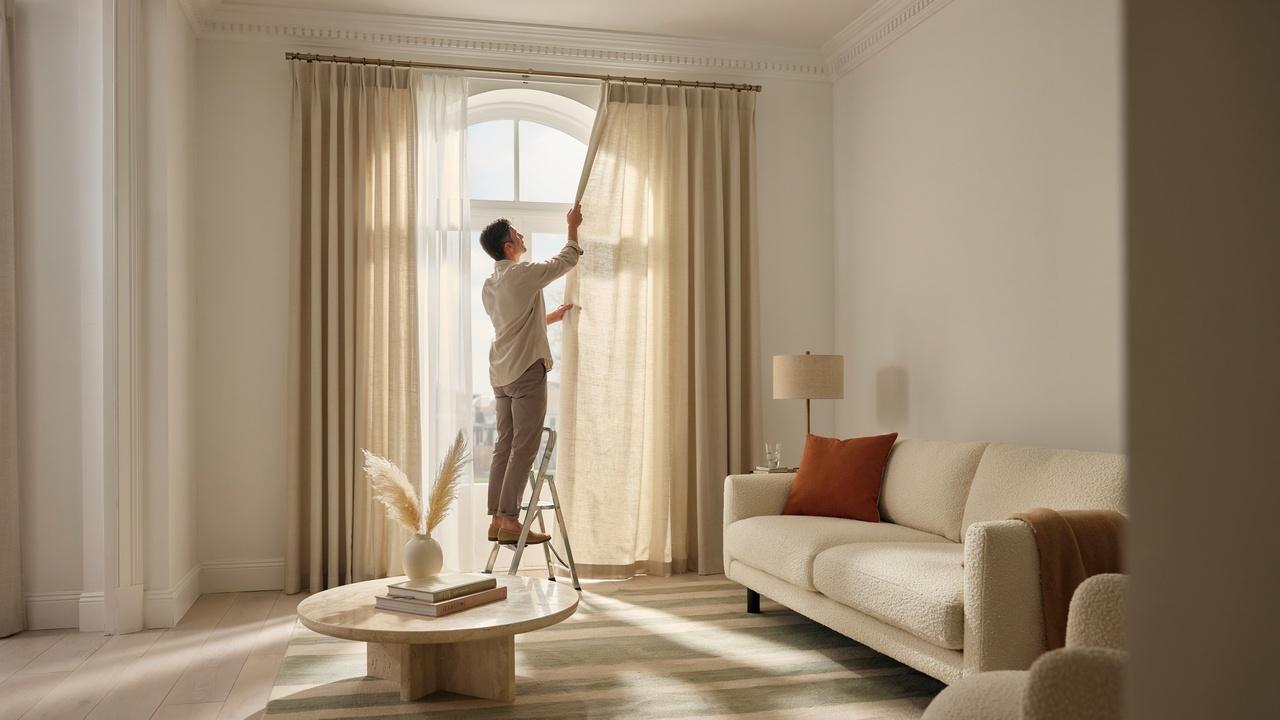

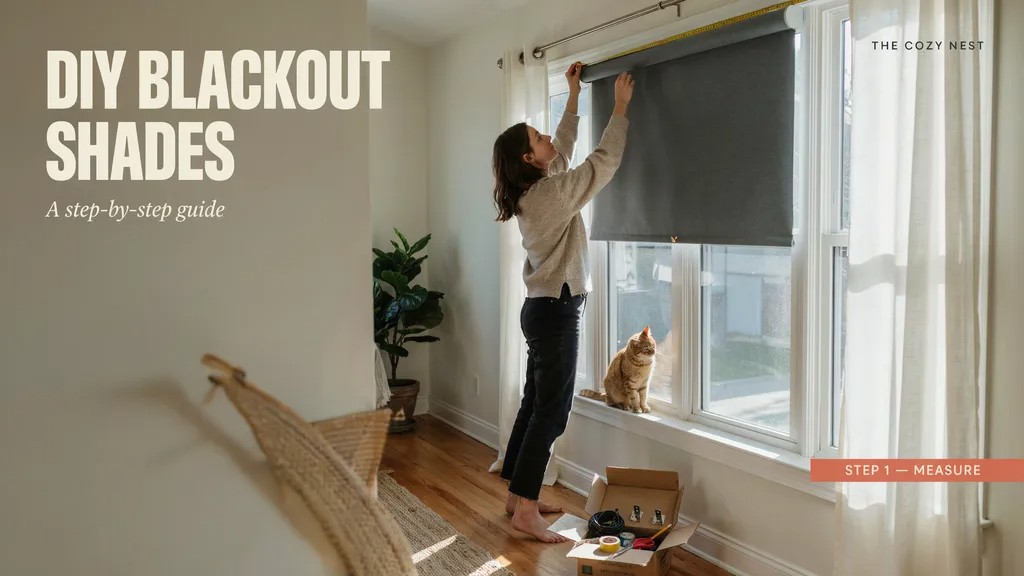
Bright mornings and street lights can turn nap time into a battle. This guide shows you how to make your own blackout shades for a nursery or bedroom, from picking fabric to the final install.
You'll get clear steps for measuring, cutting, and putting the pieces together, even if you've never made window treatments before.
I made my first set of these shades for my daughter's nursery, and I learned the fixes the hard way so you don't have to.
By the end, you'll know how to block light, cut glare, and finish a shade that fits your window and your style. Let's make your room dark and cozy.
Materials You'll Need for DIY Blackout Shades
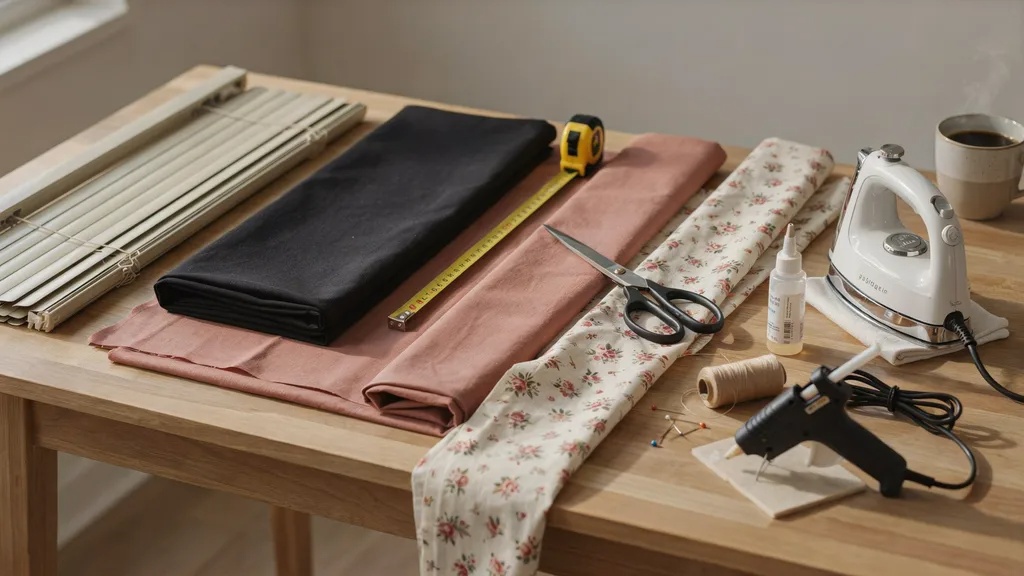
Gathering the right supplies before you start makes the whole project go faster.
Important Supplies
You'll need a set of mini blinds cut to fit your window, blackout fabric, a decorative fabric of your choice, fabric glue or a hot glue gun, scissors, an iron, and measuring tape.
Optional Tools for a Cleaner Finish
A sewing machine, fabric scissors with a rotary cutter, clothespins or binder clips for holding fabric in place, and a hem tape or fusible bonding web can help give the shade a neater, more finished edge.
Choosing the Right Blackout and Decorative Fabric
Pick a blackout fabric that is thick and tightly woven, since thinner blackout liners let more light through around the seams.
For the decorative layer, choose a cotton or cotton blend that matches your room, since lighter fabrics are easier to fold and glue evenly.
How to Measure Your Window Correctly
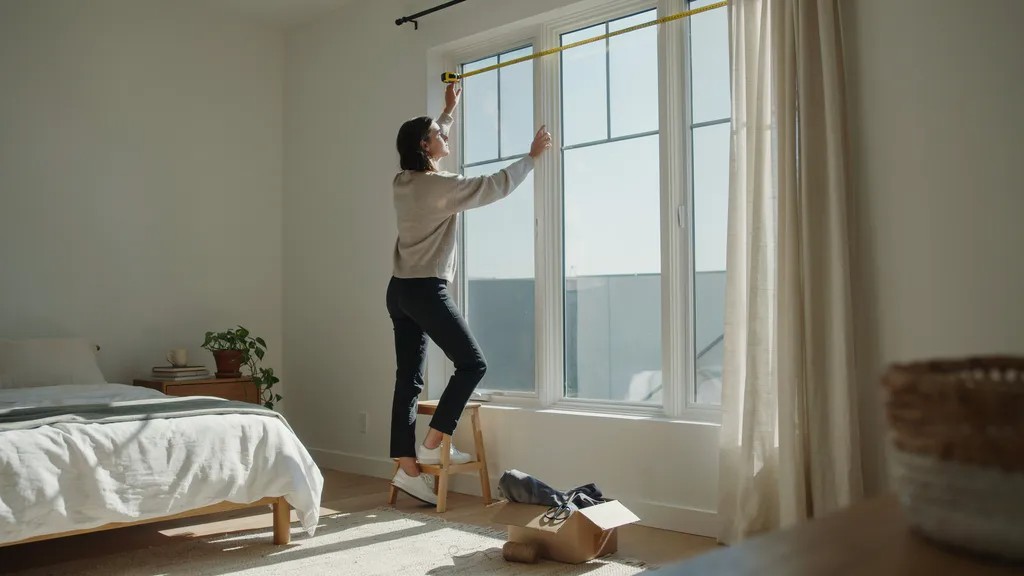
Accurate measurements are the difference between a shade that fits well and one that looks off.
Measuring Width and Length
Measure the width and length of your window using a metal tape measure rather than a fabric one, since fabric tape can stretch and throw off your numbers.
Measure at least twice to confirm you have the right size before cutting any fabric.
Deciding the Fold Spacing
Decide how many folds you want your shade to have when it's raised, then divide the total length by that number to figure out how far apart each fold should be.
Common Measuring Mistakes to Avoid
Avoid measuring only once, forgetting to account for the mounting brackets, or mixing up the inside and outside window frame measurements, since any of these can throw off your final fit.
Step-by-Step DIY Blackout Shades Tutorial
Follow these steps in order for a shade that holds together well and blocks light effectively.
Prepare and Hem the Fabric
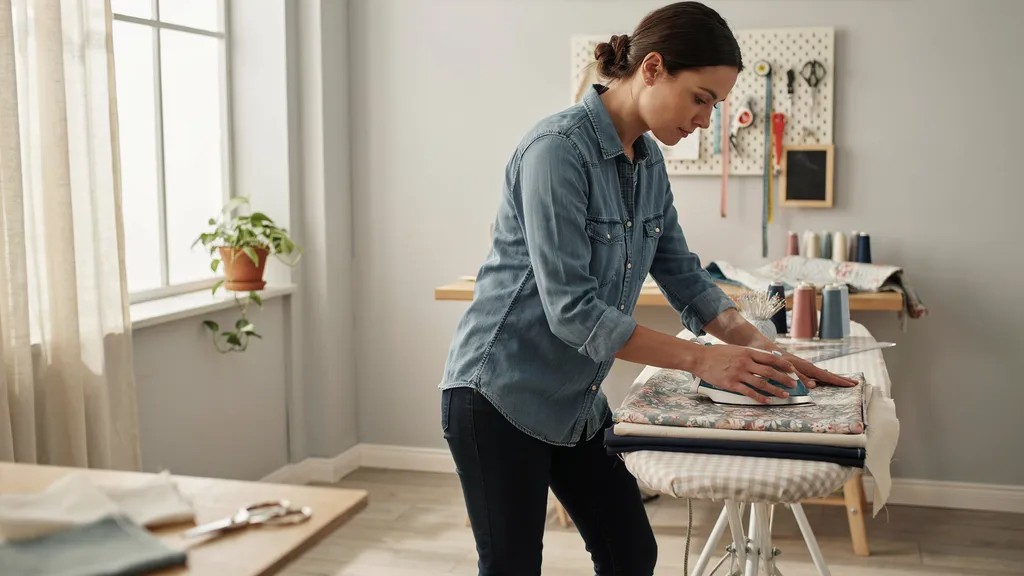
Cut your decorative fabric and blackout fabric to size, then iron and hem the edges so they don't fray over time.
Modify the Mini Blinds
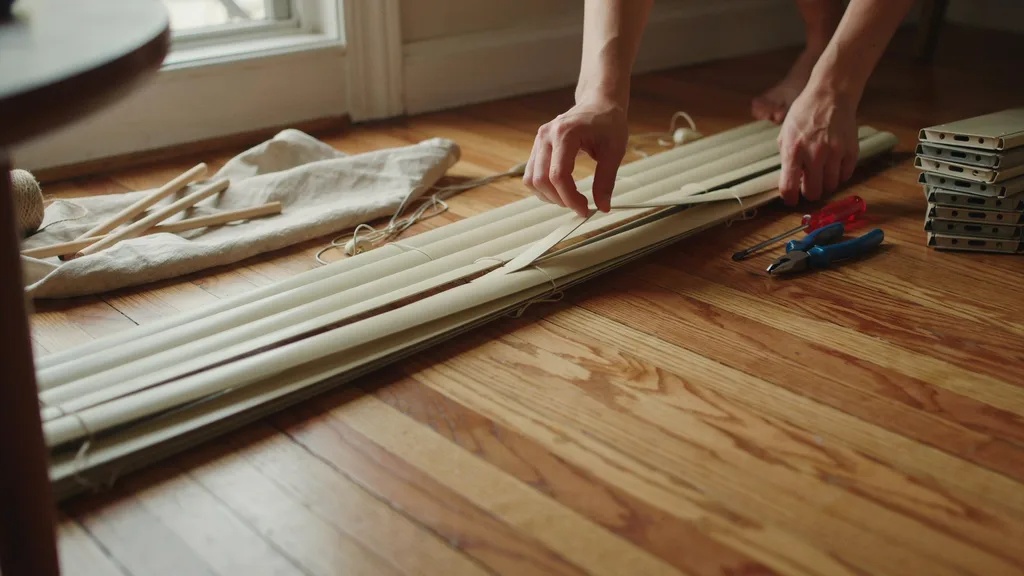
Remove the bottom rail and any extra slats from your mini blinds, keeping only the top rail and the cords needed to raise and lower the shade.
Attach the Decorative Fabric
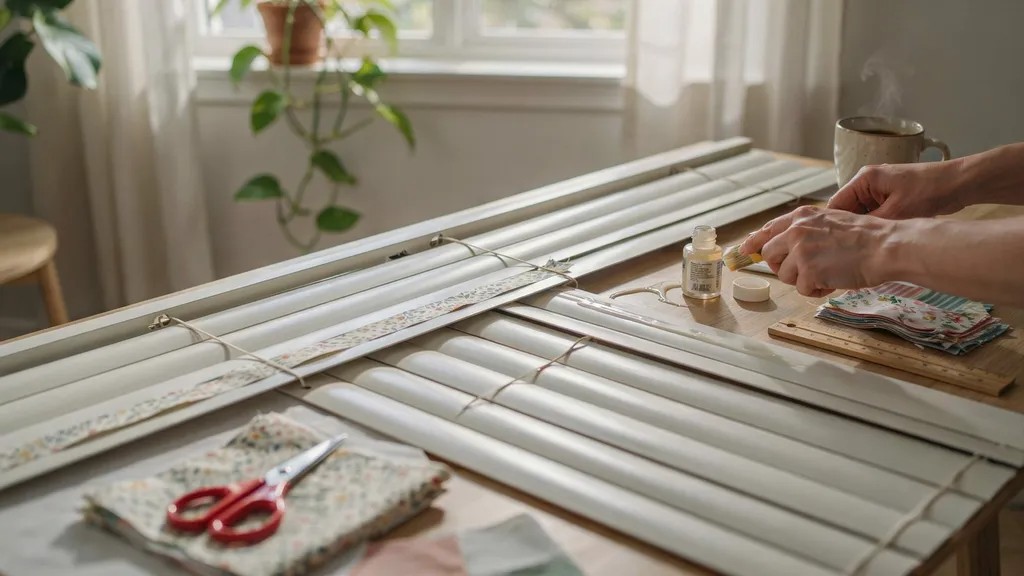
Lay the mini blinds flat on top of the decorative fabric and glue or sew the fabric to the top rail, keeping the fabric taut and straight.
Add the Blackout Fabric
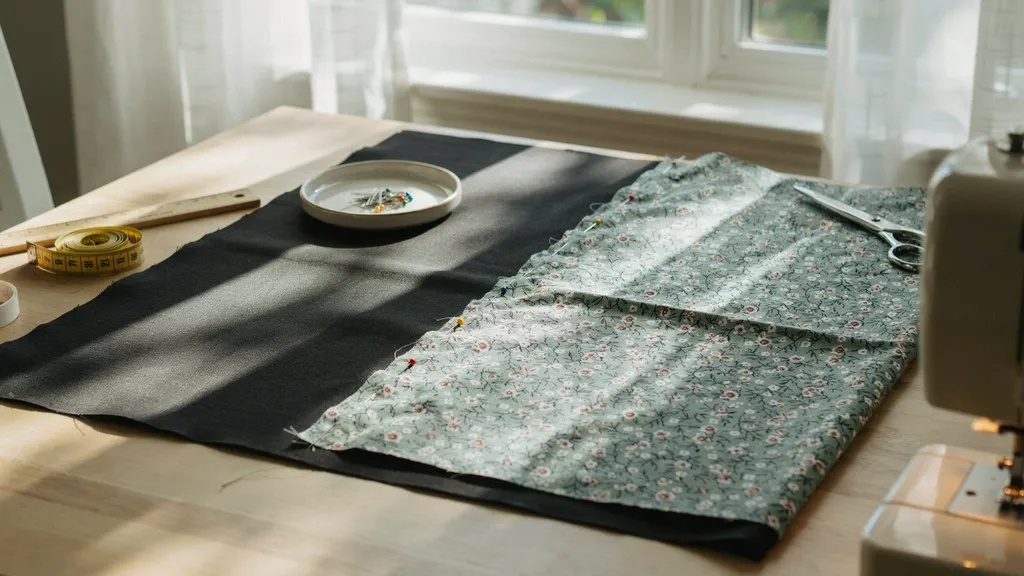
Glue or sew the blackout fabric to the back of the decorative fabric, lining up the edges carefully so no light gaps are left along the sides.
Create a Matching Valance
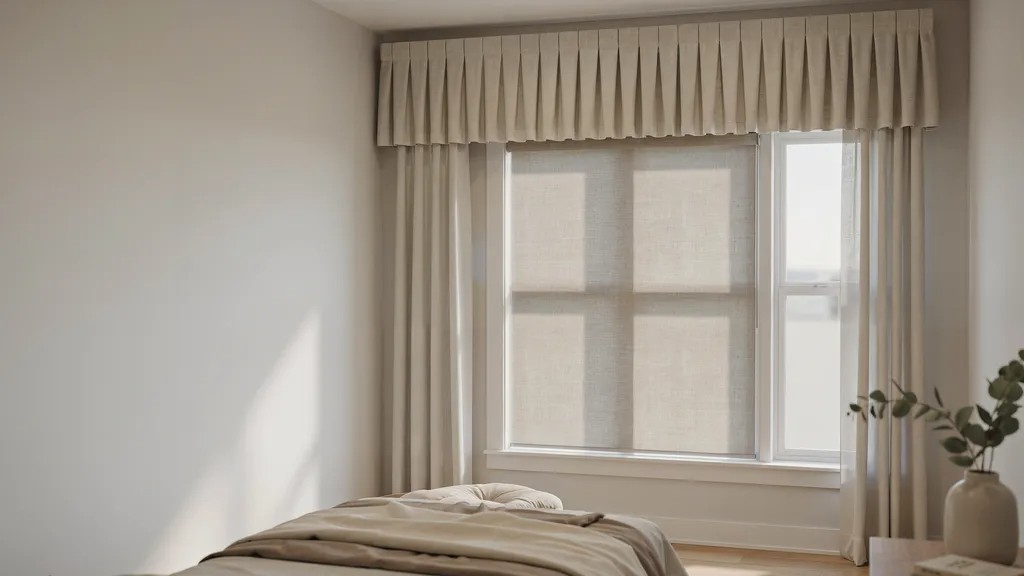
Cut a strip of fabric long enough to cover the top rail and mounting hardware, then glue or sew it in place to hide the mechanical parts of the shade.
Install and Test the Finished Shade
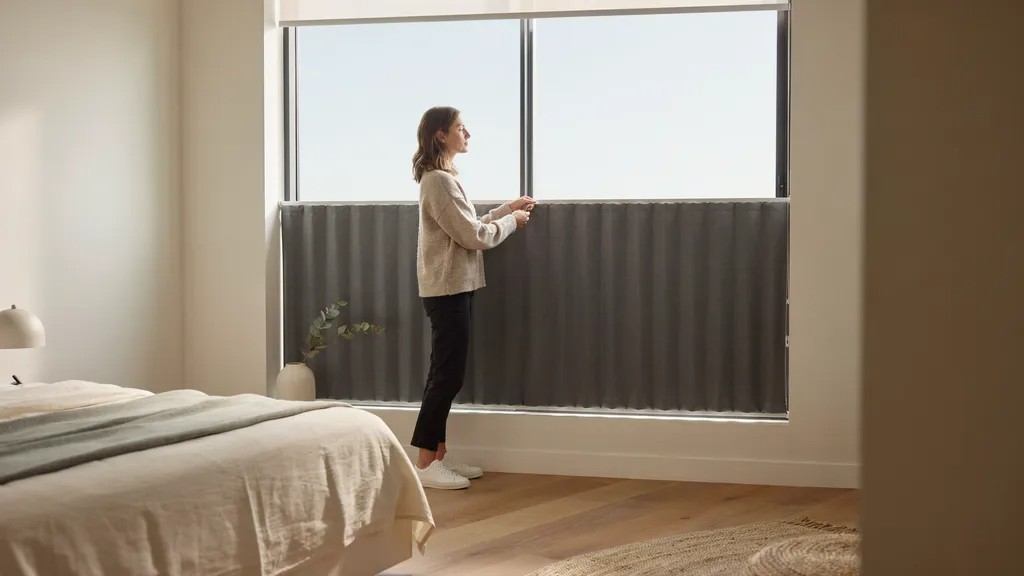
Mount the shade using the original blind brackets, then raise and lower it a few times to check that it folds evenly and blocks light properly before calling it done.
Best Places to Use DIY Blackout Shades
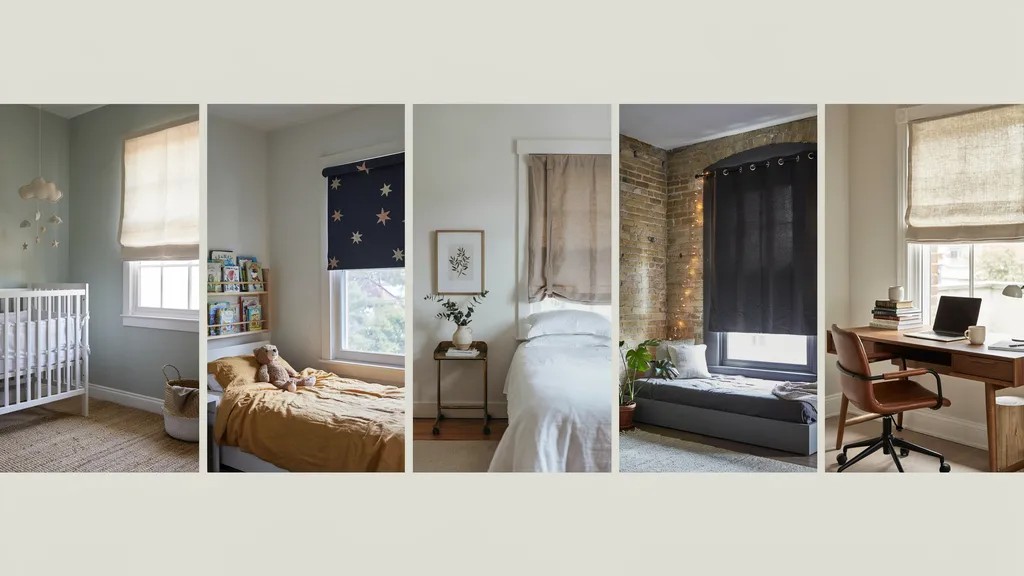
Blackout shades work well in almost any room where light control matters.
Baby Nursery Windows
A dark room helps babies nap during the day and sleep through early morning light, which makes blackout shades especially useful in a nursery.
Children's Bedrooms
Older kids also sleep better in a dark room, particularly during summer months when the sun rises early.
Guest Rooms
Guests often keep different sleep schedules, so a fully dark room can help them rest comfortably no matter the time of day.
Apartments and Rental Homes
Since these shades attach to existing mini blinds, they're easy to remove without damaging walls or window frames, making them a good fit for rented spaces.
Home Offices and Media Rooms
Blocking outside light reduces glare on screens, which makes these shades useful for anyone working from home or watching movies during the day.
Tips for Better Light Blocking
A few small adjustments can noticeably improve how well your shades block light.
Prevent Light Gaps Around the Edges
Add extra fabric width on both sides of the shade so it overlaps the window frame slightly, which helps close off gaps where light tends to sneak in.
Pick the Right Blackout Fabric
Thicker, densely woven blackout fabric blocks more light than thinner materials, so it's worth spending a little more for better fabric.
Make Shades Look More Professional
Iron all seams flat, keep your fold lines even, and use fabric glue sparingly so it doesn't seep through and leave marks on the front side.
Common DIY Blackout Shade Mistakes to Avoid
A few simple errors can affect how well your finished shade works.
- Cutting the Wrong Cords: Cut only the cords you're instructed to remove when modifying the mini blinds, since cutting the wrong one can make the shade impossible to raise or lower.
- Using the Wrong Adhesive:Regular craft glue may not hold fabric layers together well over time, so use a fabric glue or hot glue made for textiles instead.
- Incorrect Fabric Sizing:Cutting fabric too small leaves gaps at the edges, while cutting it too large can cause bunching, so double check your measurements before cutting.
- Skipping Drying Time: Letting glued sections dry fully before folding or hanging the shade helps the bond hold and prevents the fabric from shifting out of place.
Conclusion
You've got everything you need to make DIY blackout shades that actually work for your space.
I still use the ones I made for my daughter's room, and they've held up for years. Pick a weekend, gather your fabric, and give it a try.
If you run into a snag, leave a comment and I'll help you sort it out.
Found this useful? Share it with a friend who's tired of early wake-up calls, and check out our other window projects while you're here.
Frequently Asked Questions
How much does it cost to make DIY blackout shades?
Costs vary depending on fabric choice, but most DIY blackout shades cost less than half the price of a comparable store-bought option.
Can I make blackout shades without sewing?
Yes, fabric glue or fusible bonding tape can be used instead of sewing for a no-sew version of these shades.
How do I clean fabric blackout shades?
Spot clean with a damp cloth, since most blackout fabrics shouldn't be machine washed or soaked.
Will blackout shades block 100% of light?
A well-made blackout shade blocks most light, but some may still come through at the edges unless the shade is sized to overlap the window frame.
How long does this project take to finish?
Most people can complete a single DIY blackout shade in two to four hours, depending on the size of the window and whether they're sewing or using glue.