The first time I hung grommet curtains, one side sat visibly higher than the other. I had to take the whole thing down and start over. Not fun.
What I didn't know then was how much a few small steps change the entire outcome. And that's exactly why I put this guide together.
How to hang grommet curtains sounds simple until you're standing on a ladder with a drill and mismatched brackets.
But when you follow the right order, the results look genuinely professional.
Stick with me through this guide and I'll show you exactly what to do, and what to skip.
Understanding Grommet Curtains and Why Proper Hanging Matters
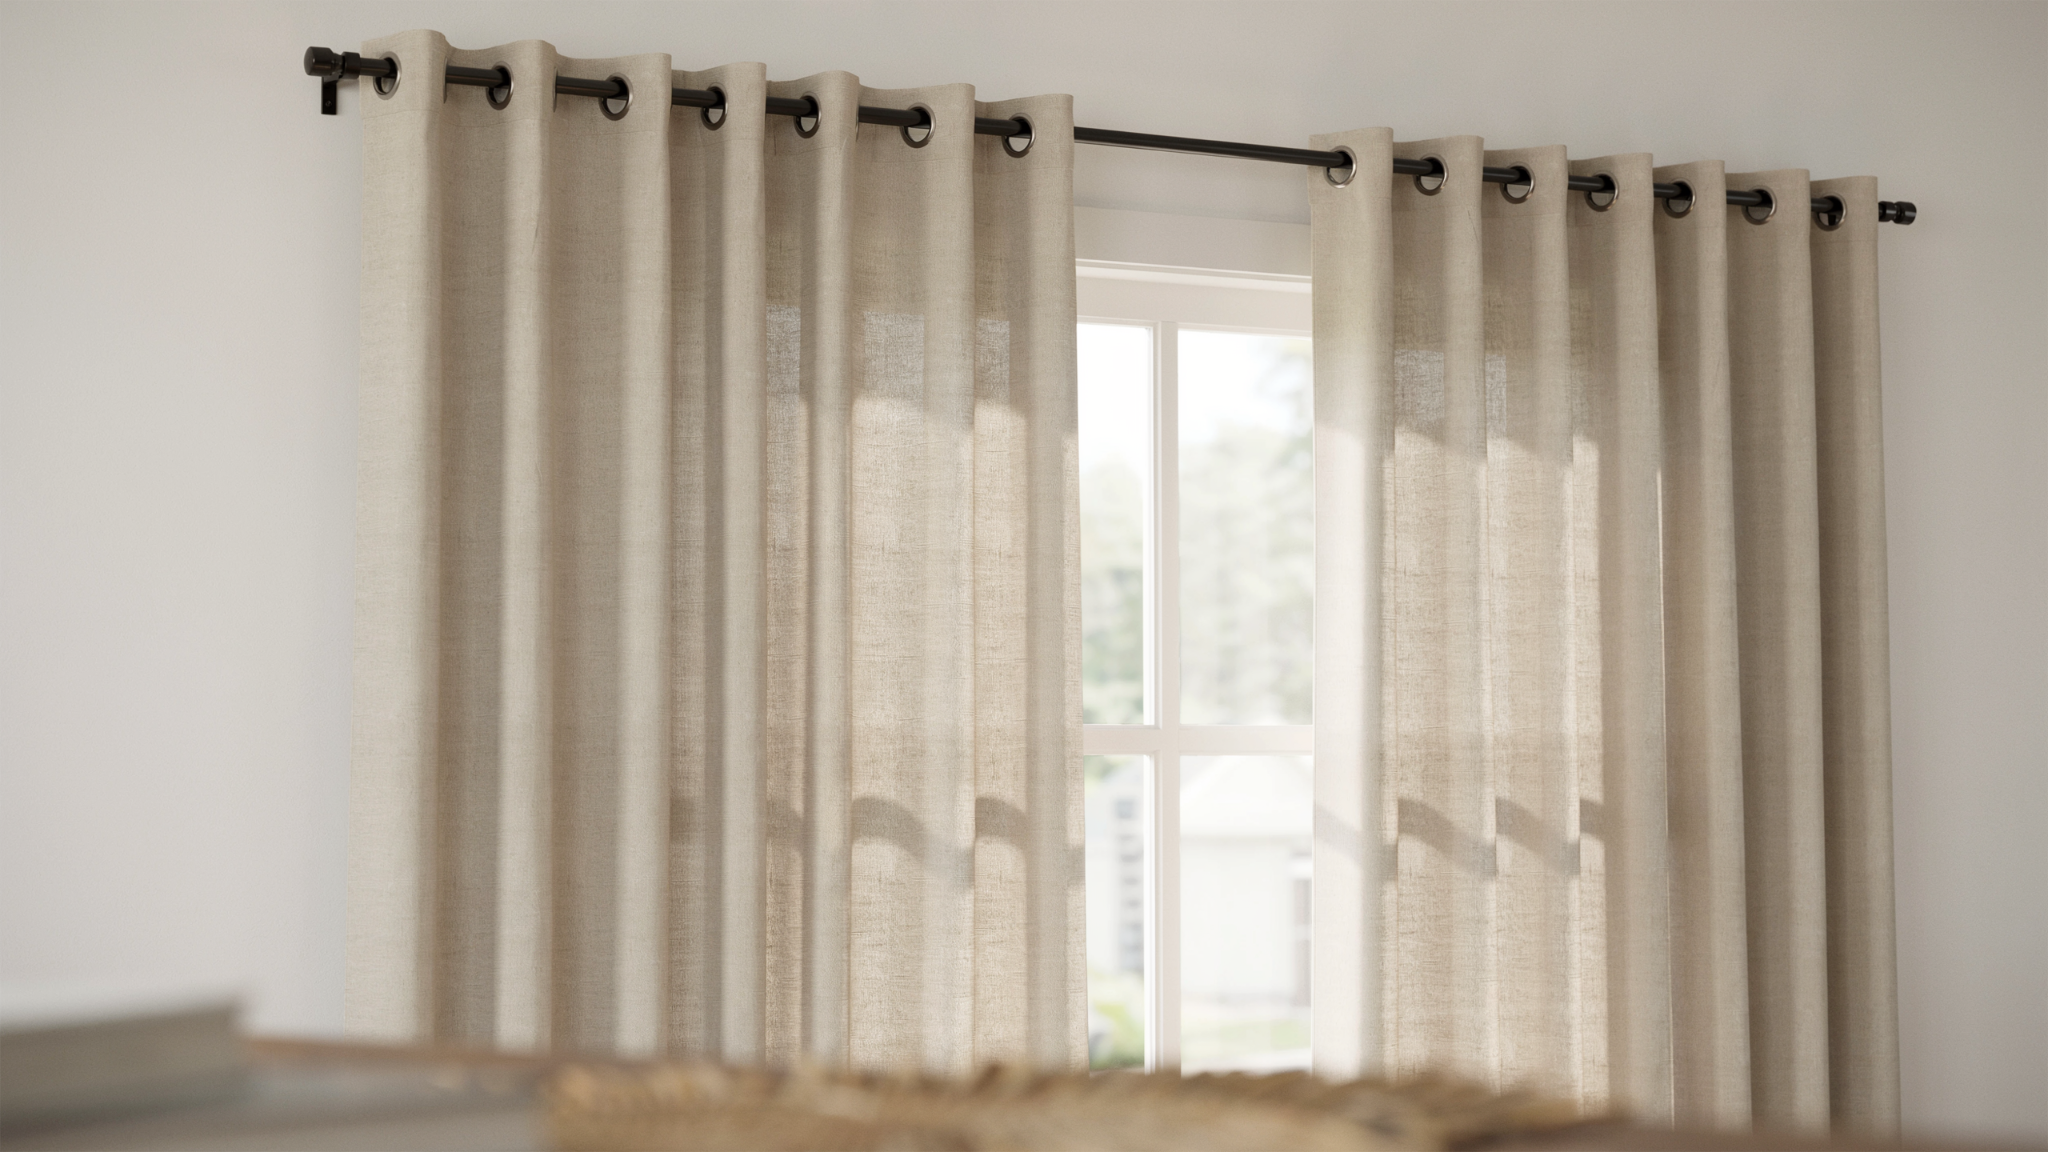
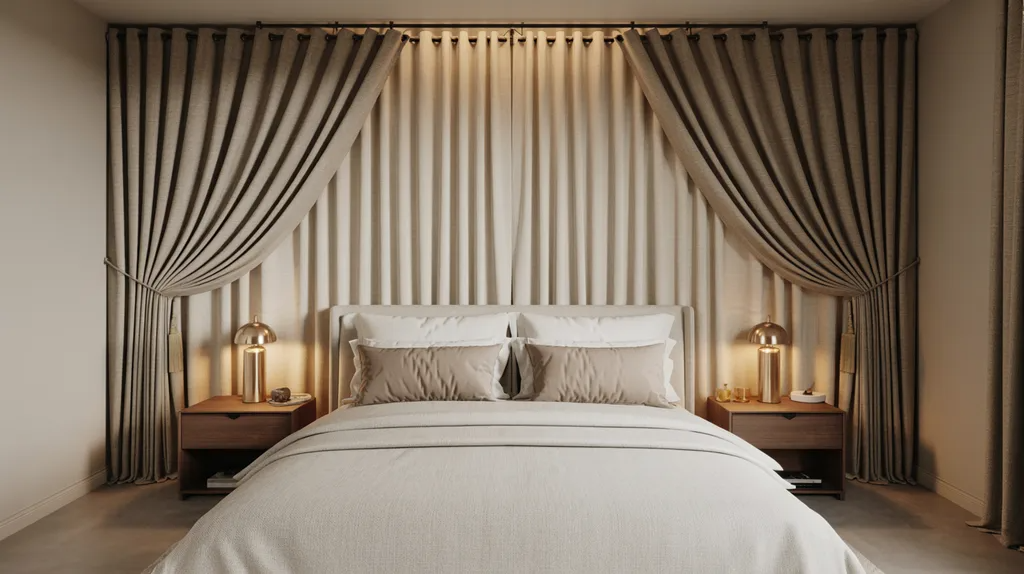
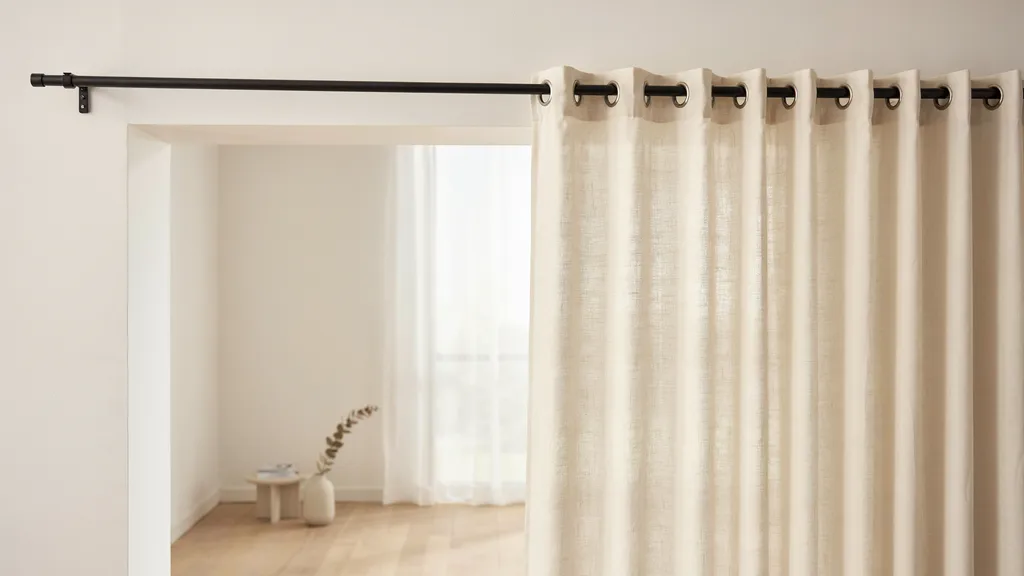
Grommet curtains, also called eyelet curtains, have metal rings built into the top of the fabric. The rod slides directly through these rings, creating that clean, evenly spaced fold.
The size and spacing of the grommets affect how the curtain drapes. Smaller grommets create tighter folds. Larger ones create wider, more relaxed pleats.
Correct installation also affects day-to-day function. Poorly hung curtains stick on the rod, sag in the middle, or let in uneven light gaps.
Uneven bracket placement is the most common cause of crooked curtains. A small mistake at installation becomes very visible once the fabric is up.
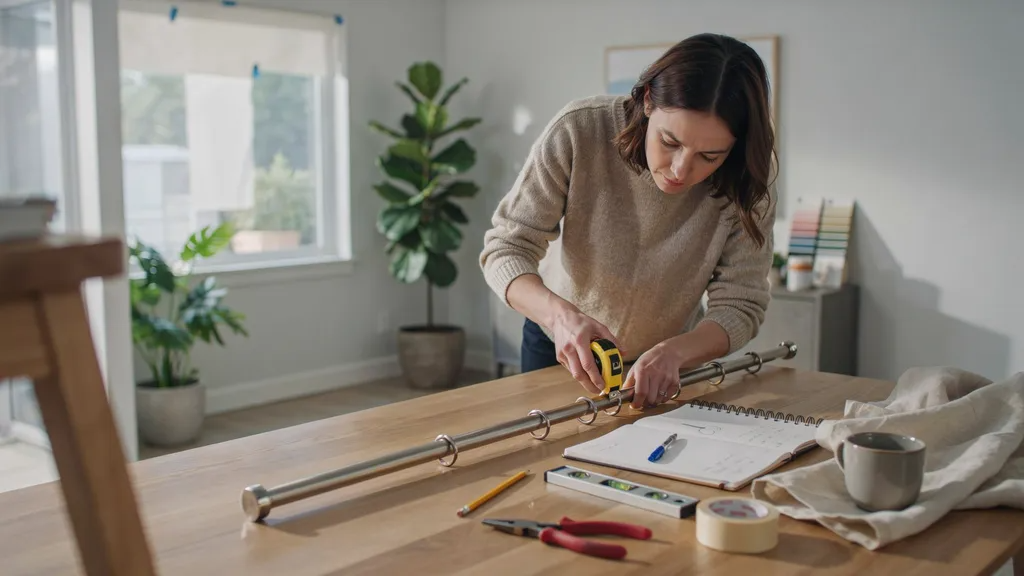
Key Things You Need Before Hanging Grommet Curtains
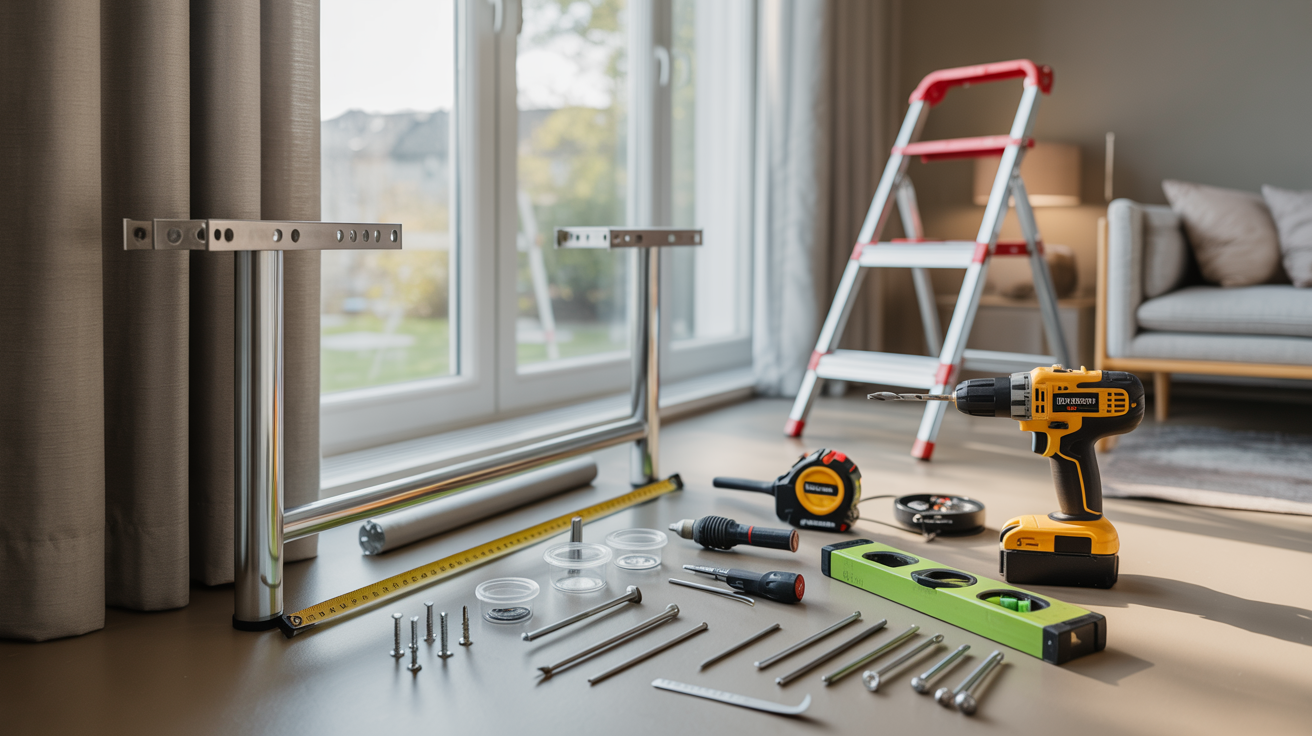
Having the right tools on hand before you start saves time and prevents mid-installation trips to the hardware store.
Here's what you'll need:
- Curtain rod: Smooth, sturdy, and matching the grommet diameter. A flimsy rod will bow under the curtain's weight.
- Measuring tape: You'll use this multiple times throughout the process.
- Wall anchors and screws: Essential if you're not drilling directly into a stud.
- Drill or screwdriver: For securing brackets into the wall.
- Level tool: Keeps brackets at the same height on both sides.
- Step ladder: Helpful for higher rod placements.
For curtain width, aim for panels that are 1.5 to 2 times the window width. Anything less and the curtains will look flat when open.
Always measure twice before drilling. One wrong hole is fixable. Several starts to look messy.
Step-by-Step Guide on How to Hang Grommet Curtains on Rod
Follow each step in order and you'll have curtains that look like a professional hung them.
Step 1: Measure Your Window Properly
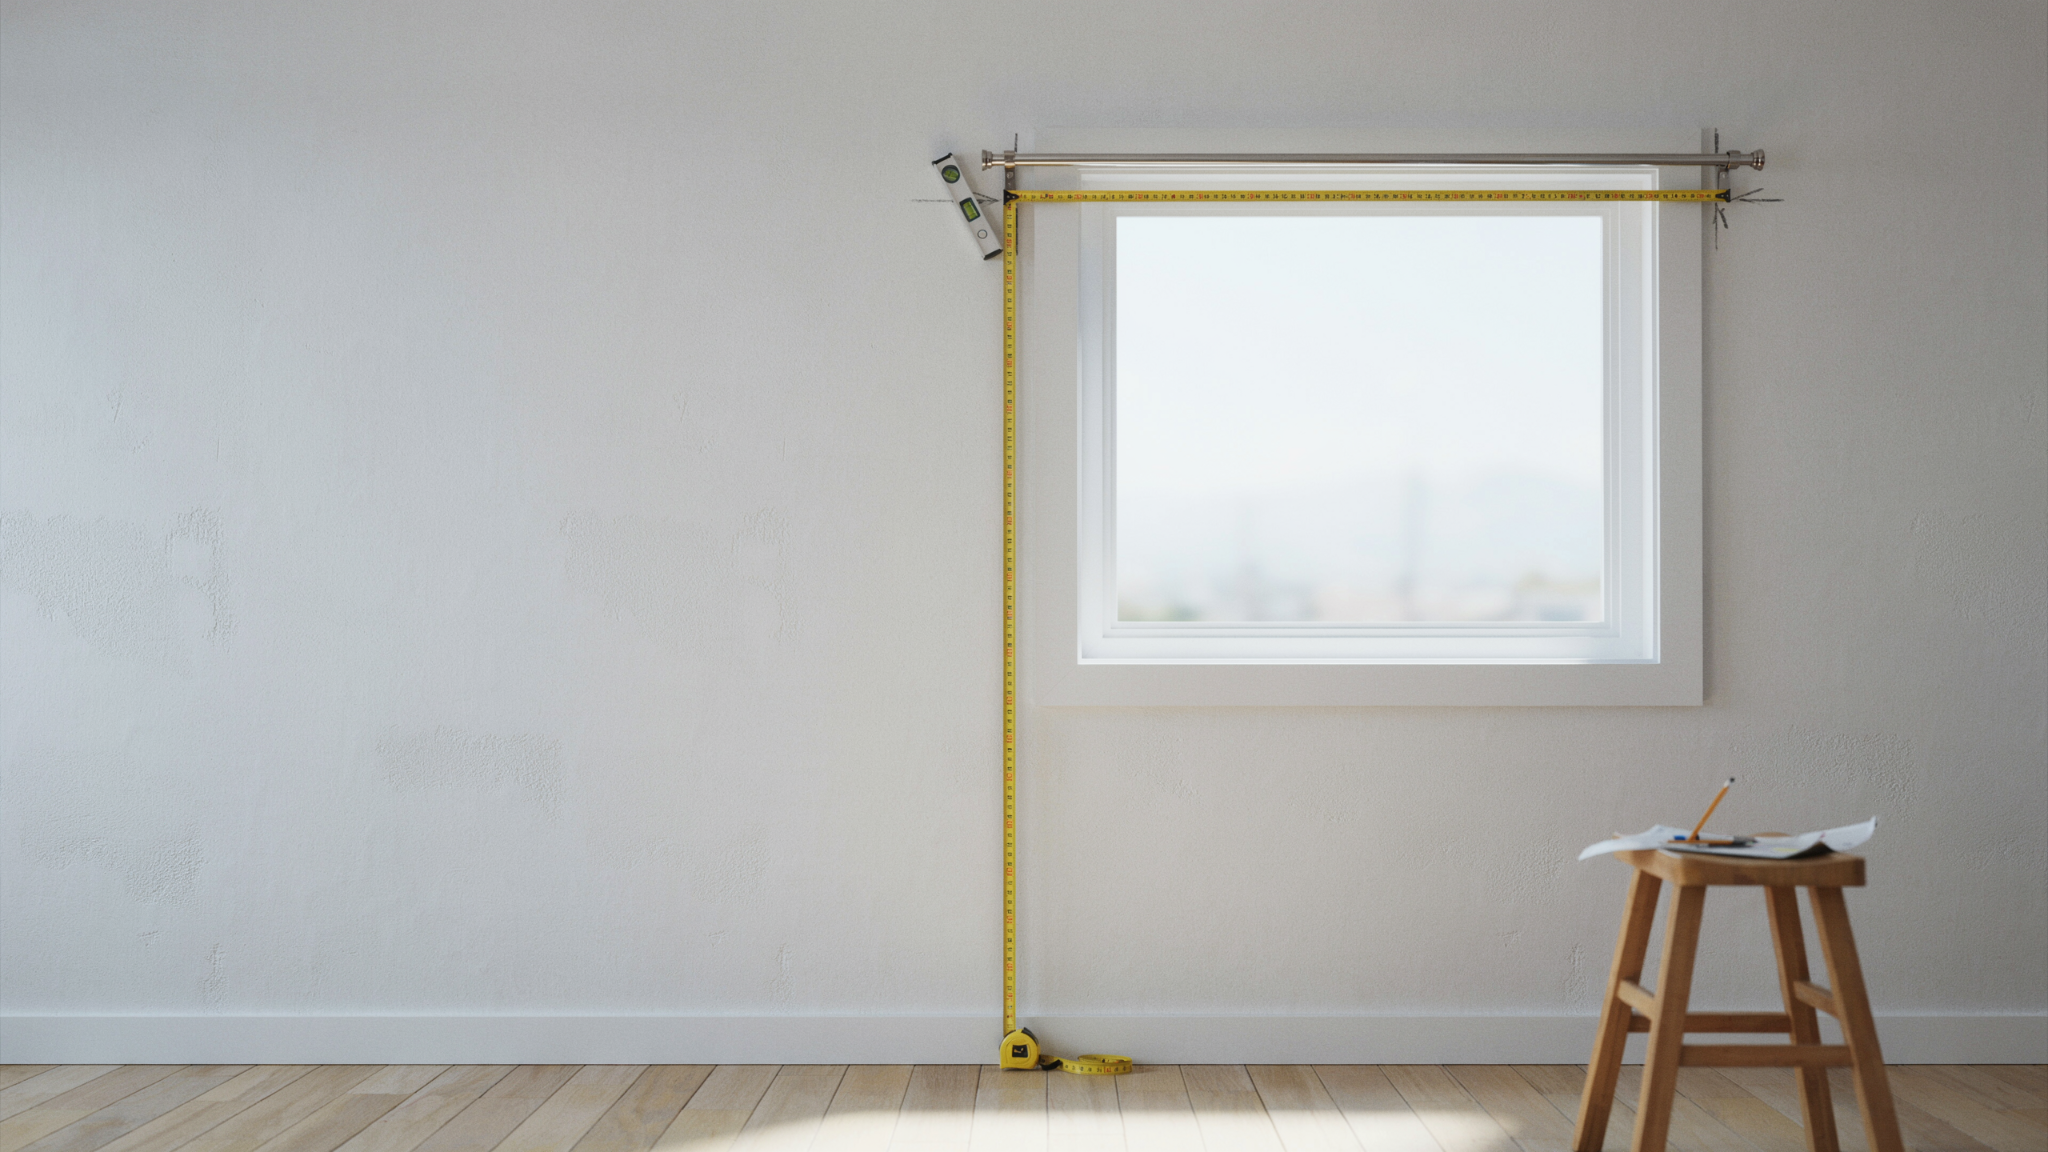
Measure the full window width, then add 6 to 12 inches on each side so the curtains clear the window when open.
For height, measure from the rod placement point down to the floor. Hanging the rod 4 to 6 inches above the window frame makes the ceiling feel taller.
Write everything down before you pick up the drill.
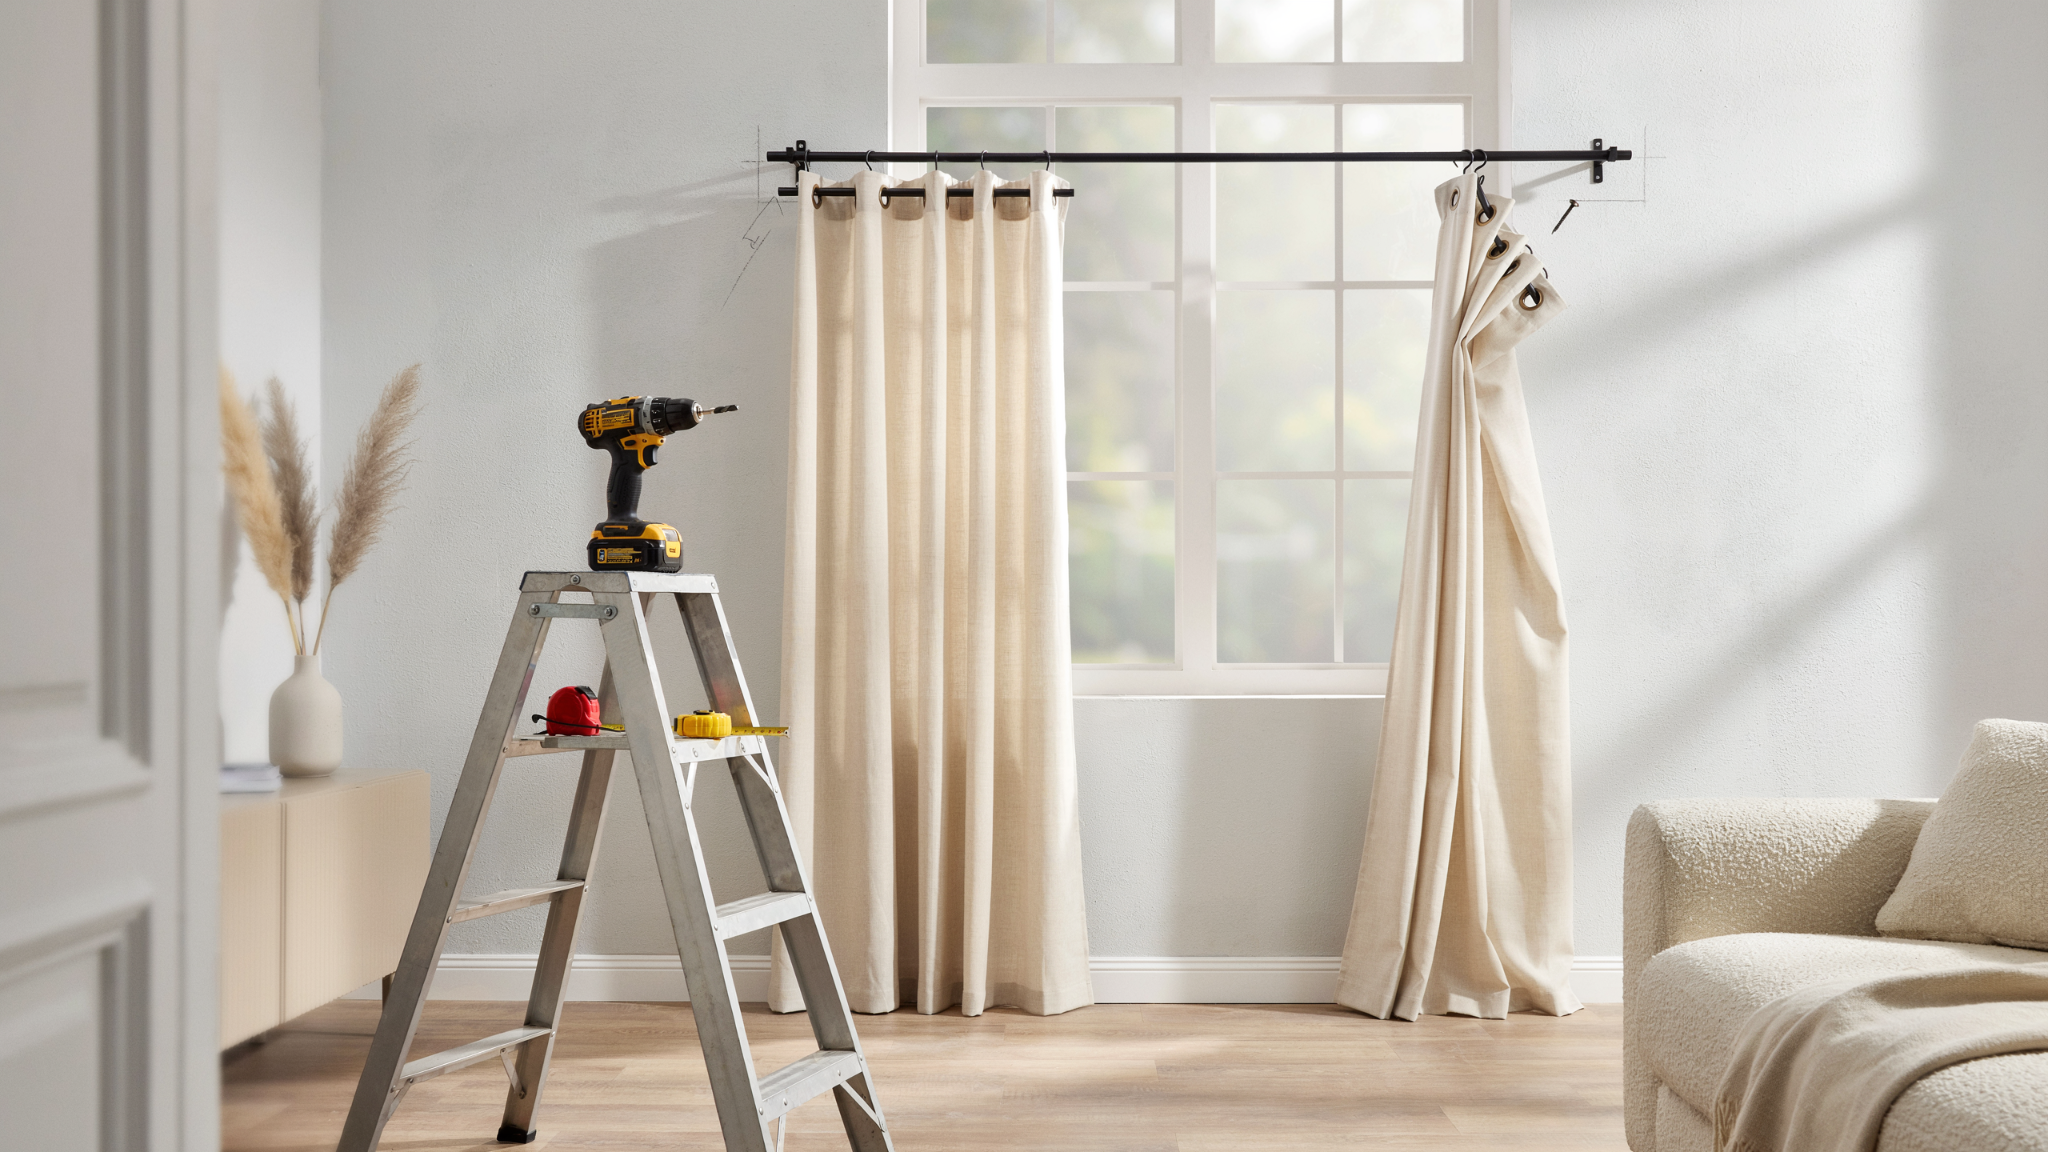
Step 2: Install the Curtain Rod Brackets
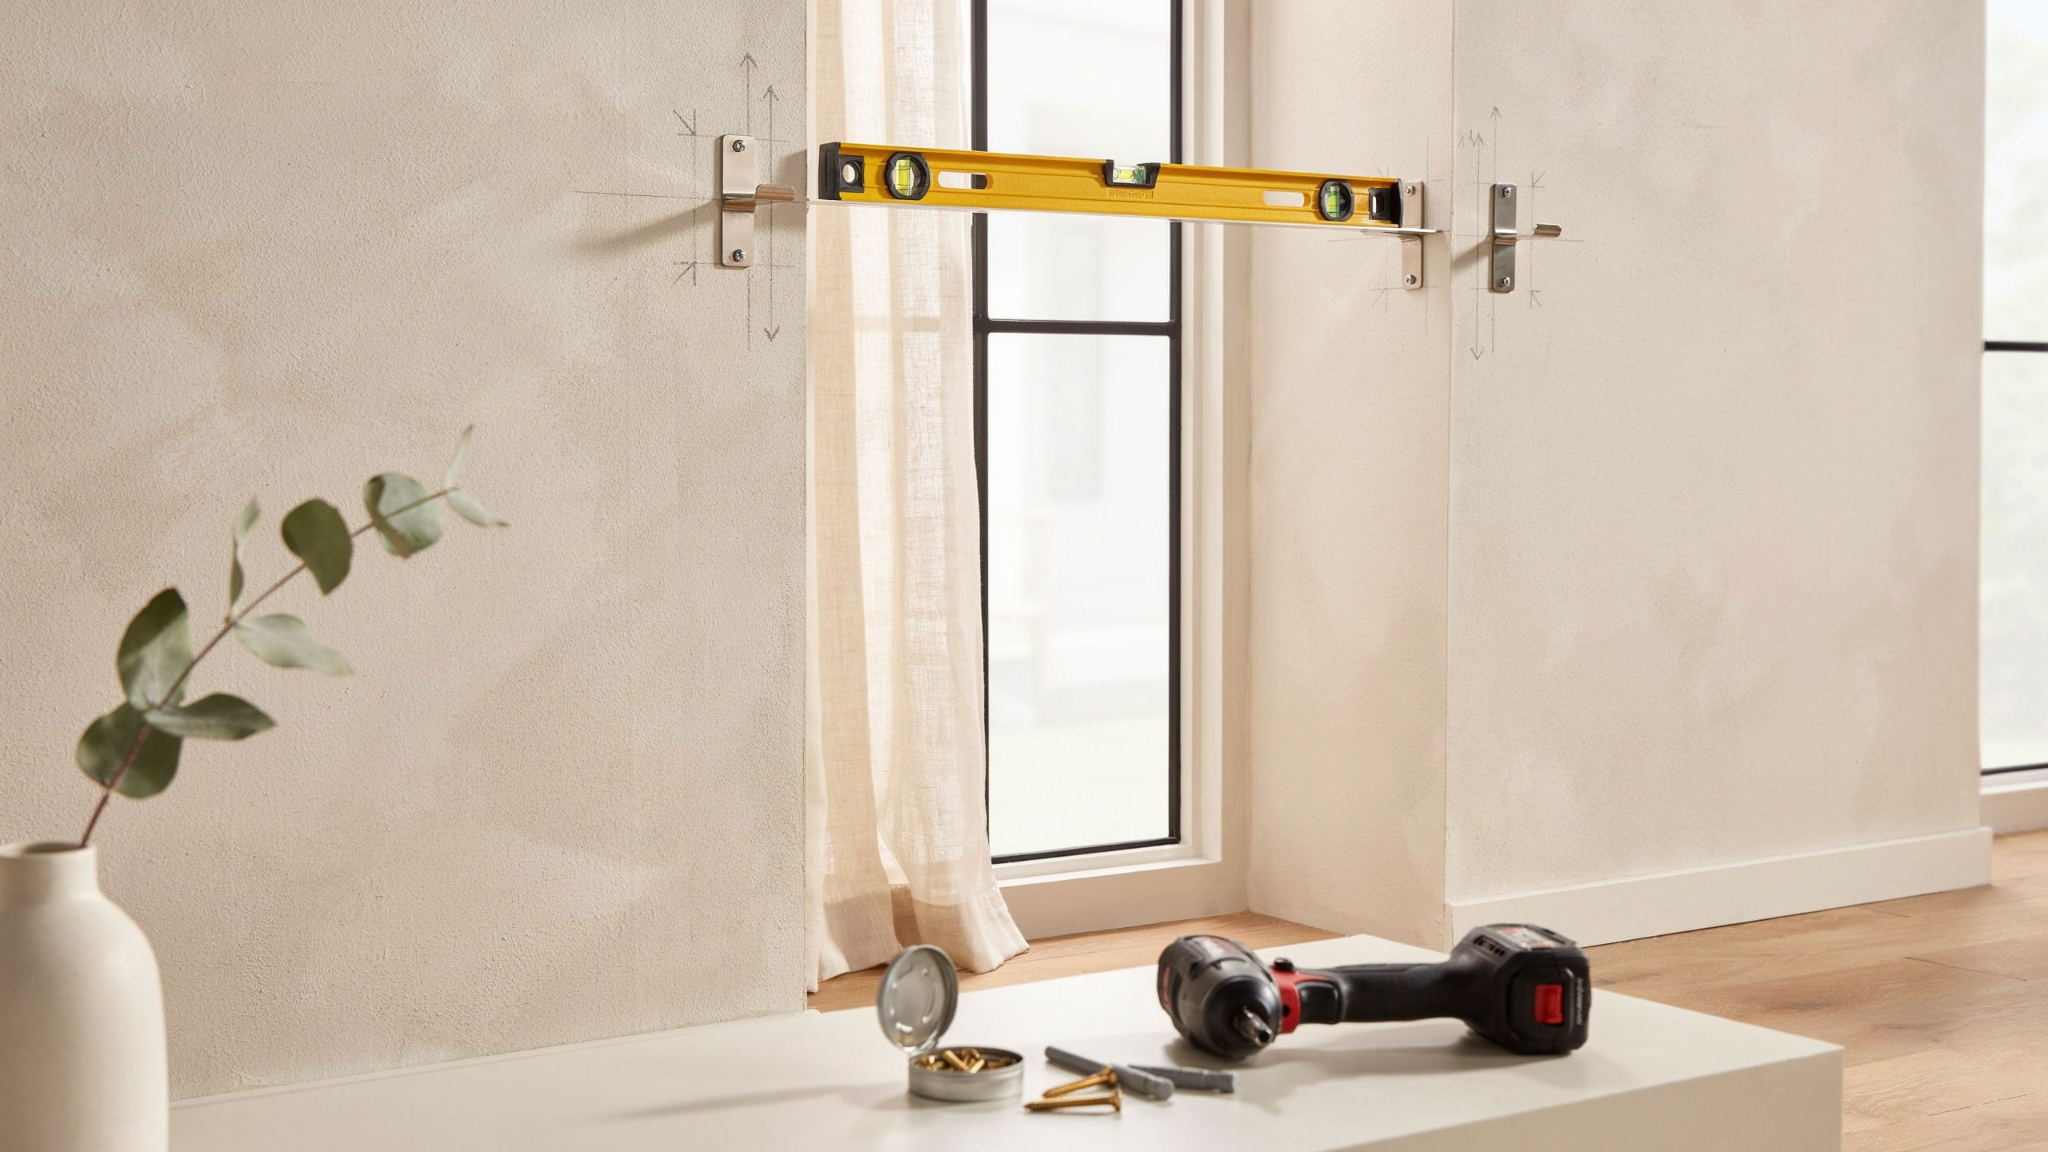
Mark both bracket positions at the same height using a pencil and level. Confirm they're even before drilling anything.
Drill your holes, insert wall anchors if needed, and screw the brackets in firmly. Give each bracket a firm tug. It should not move at all.
Step 3: Prepare the Curtains
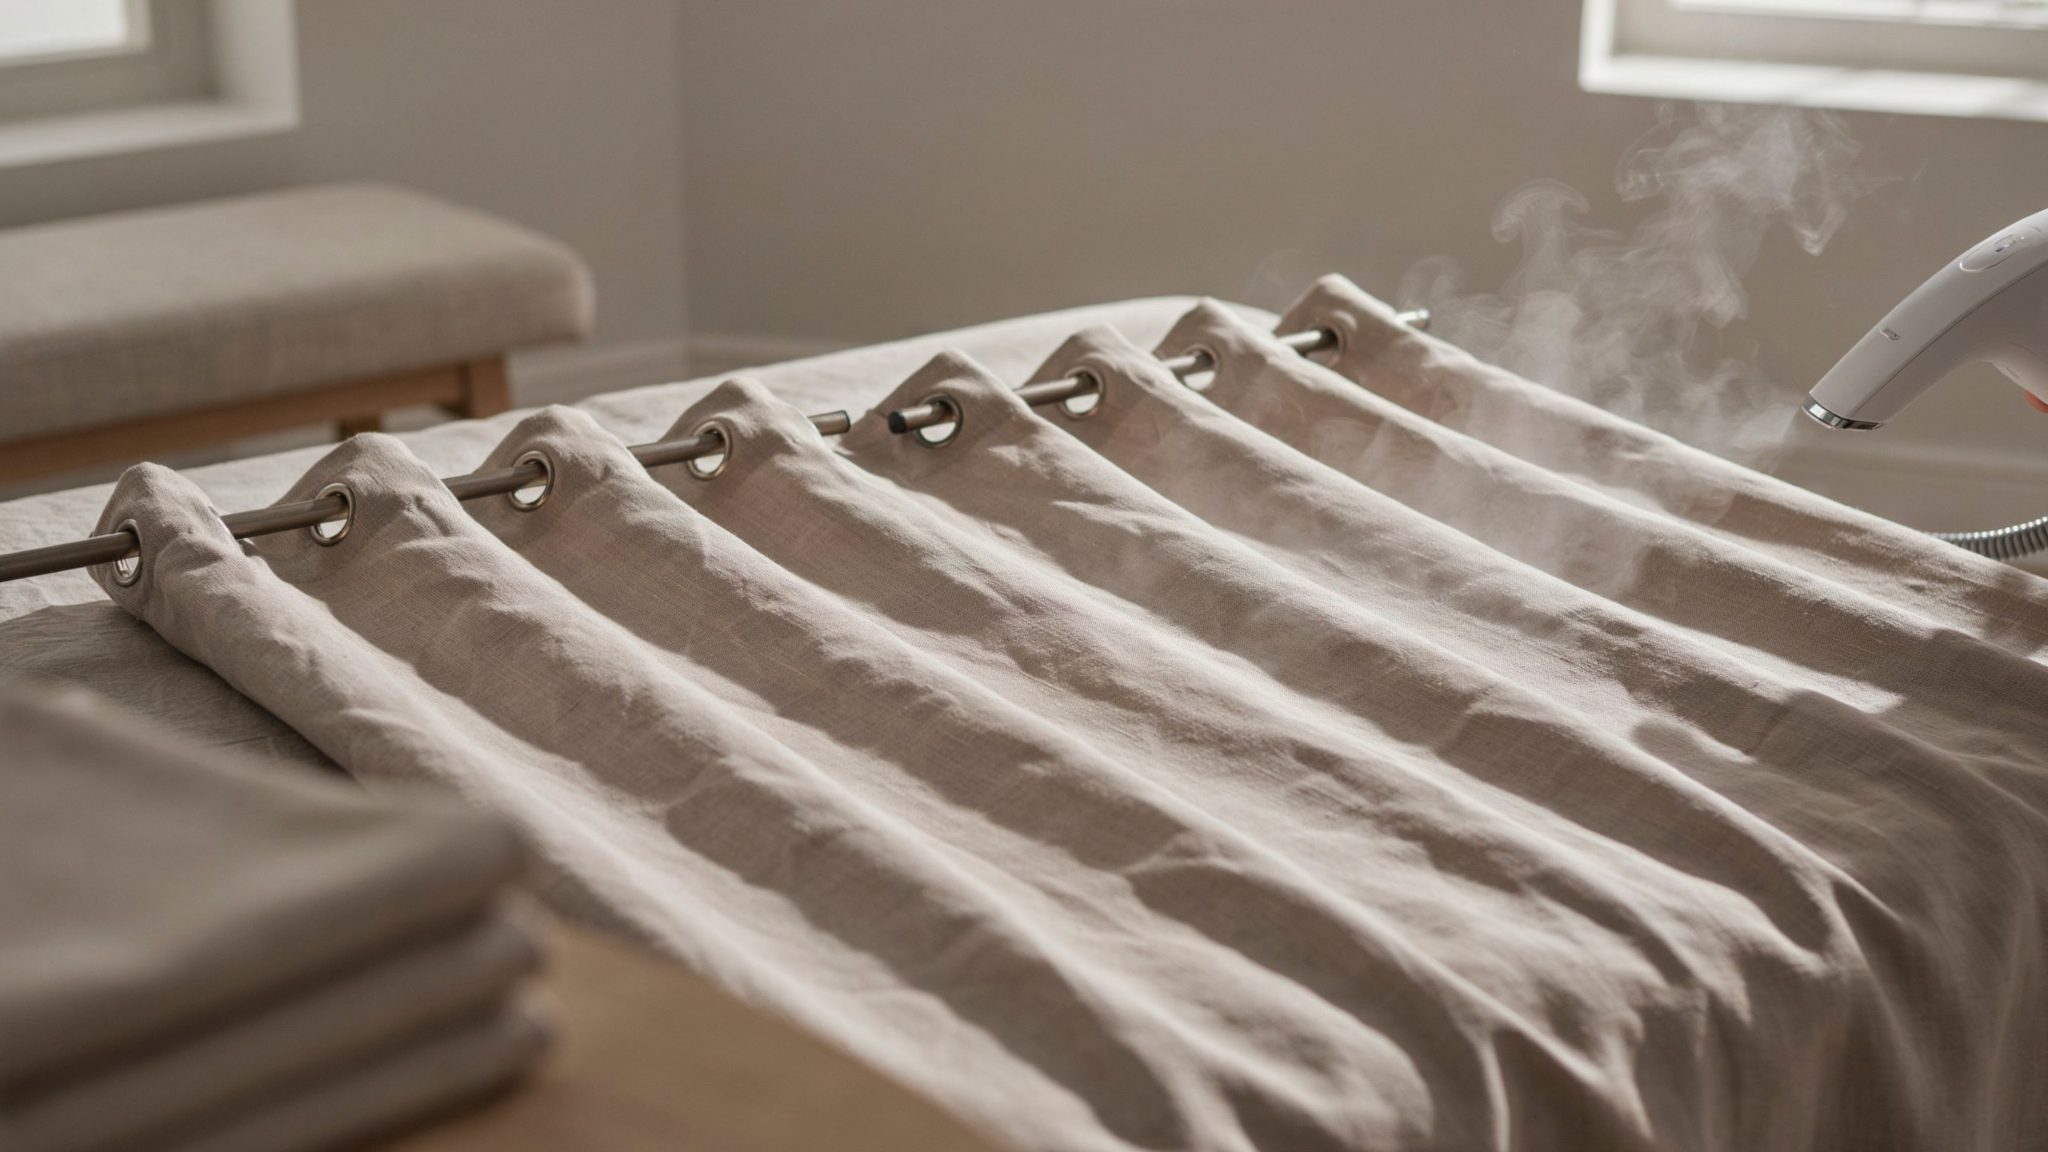
Lay the curtains flat and check that all grommets are evenly spaced and the fabric isn't twisted.
Give them a light steam or iron if they came folded from packaging. Wrinkled fabric never hangs cleanly regardless of how well the rod is installed.
Step 4: Insert Curtains onto the Rod
Slide the rod through each grommet one at a time, keeping the fabric flat as you go. Twisted fabric shows up clearly once the curtains are hanging.
If using two panels, divide them evenly on the rod before mounting to save adjustment time later.
Step 5: Mount the Rod and Adjust
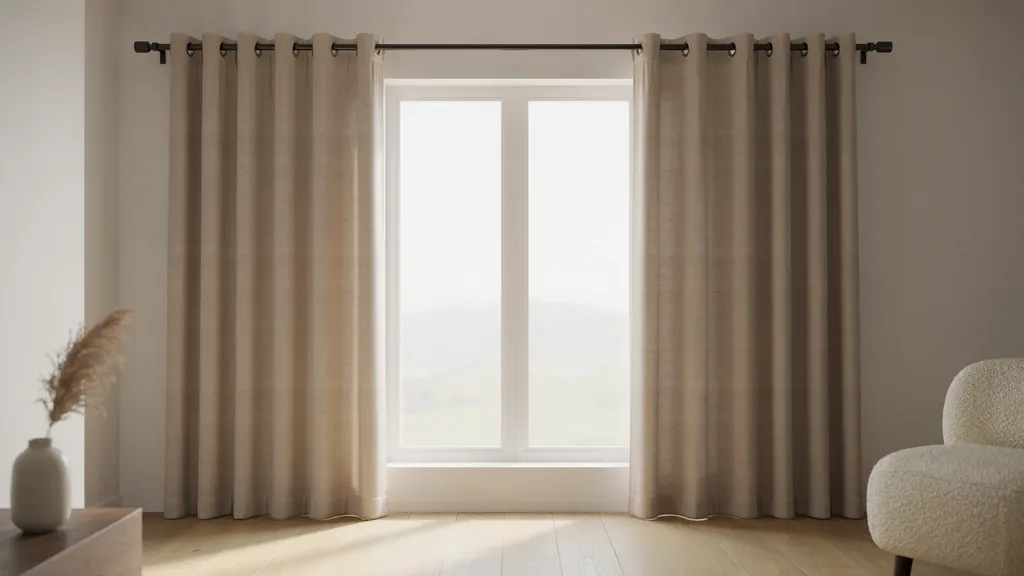
Place the rod onto both brackets and secure the end caps. Step back and check that it sits level.
Spread the folds evenly by hand. Evenly spaced pleats are what separate a polished finish from a rushed one. Adjust the drop length and check symmetry on both sides.
Common Mistakes to Avoid When Hanging Grommet Curtains
Most installation problems come from a handful of avoidable errors. Knowing these before you start saves you from redoing the work.
- Using a weak or thin rod: It will bow under heavier fabric. Use a rod rated for your curtain size.
- Incorrect measurements: Measuring only the glass without accounting for overlap makes curtains look too narrow.
- Uneven bracket placement: Even a small height difference shows clearly once the fabric is up.
- Ignoring curtain fullness ratio: Panels too narrow for the window look flat. Stick to 1.5 to 2 times the window width.
- Skipping grommet alignment check: Misaligned grommets cause uneven folds that are hard to fix after hanging.
- Overlooking wall strength: Heavy curtains need proper anchoring. Drilling into plasterboard without anchors won't hold.
Check each of these before you start. It's far easier than pulling brackets out and starting over.
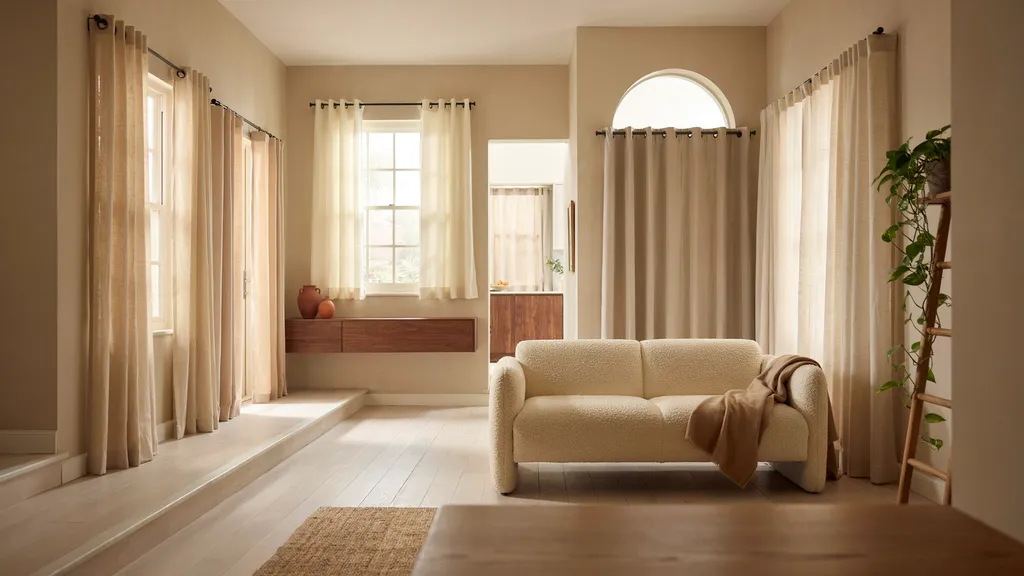
Styling Tips for a Professional Finish
Getting the curtains up is only part of the job. How you style them afterward is what makes the room look intentional.
- Let curtains just touch or slightly puddle at the floor. It adds softness without looking messy.
- Space the pleats evenly by hand. Symmetrical folds give a tailored, consistent look.
- Choose curtain colors that work with your room lighting. Natural light shifts color throughout the day.
- Layer with sheer curtains behind. It adds depth and better light control.
- Hang the rod higher than the window frame. One of the simplest tricks to make a room feel taller.
- Steam or iron before final styling. Smooth fabric always looks more polished than creased panels.
These small finishing touches are what turn a functional installation into a room that actually looks designed.
Conclusion
Honestly, once you try it, how to hang grommet curtains stops feeling like a task and starts feeling like a skill. And the difference it makes to a room is immediate.
You've got the steps, the tools list, and the mistakes to avoid. Now the only thing left is to actually do it.
Hang your curtains, step back, and see what a difference proper installation makes. Then come back and tell me how it went.
Which room are you starting with? Drop it in the comments. I'd love to hear from you.
Frequently Asked Questions
What Is the Correct Height to Hang Grommet Curtains?
Install the rod 4 to 6 inches above the window frame to create a taller room effect.
Can I Use Any Curtain Rod for Grommet Curtains?
No, the rod must be smooth and match the grommet diameter so curtains slide easily without snagging.
Why Do My Grommet Curtains Look Uneven?
This usually happens due to incorrect bracket spacing or uneven installation height on both sides.
How Wide Should Curtains Be for Proper Fullness?
Curtains should be 1.5 to 2 times the window width for a full, gathered look when closed.
Do Grommet Curtains Need Ironing Before Hanging?
Yes, light steaming or ironing removes packaging creases and helps curtains hang cleanly from the start.