
Hanging grommet curtains is easier when you know how to measure, position, and install them correctly. Without the right steps, panels can hang crooked, bunch awkwardly, or slide poorly on the rod.
This guide explains how to hang grommet curtains, from measuring your window and choosing the right rod to installing the brackets and creating even folds.
You will also learn how to fix common problems and get a clean, polished look.
Whether you are updating a bedroom or living room, these practical steps help make installation faster and more accurate.
A little preparation before you start can prevent common mistakes and improve the final result.
What to Know Before Hanging Grommet Curtains
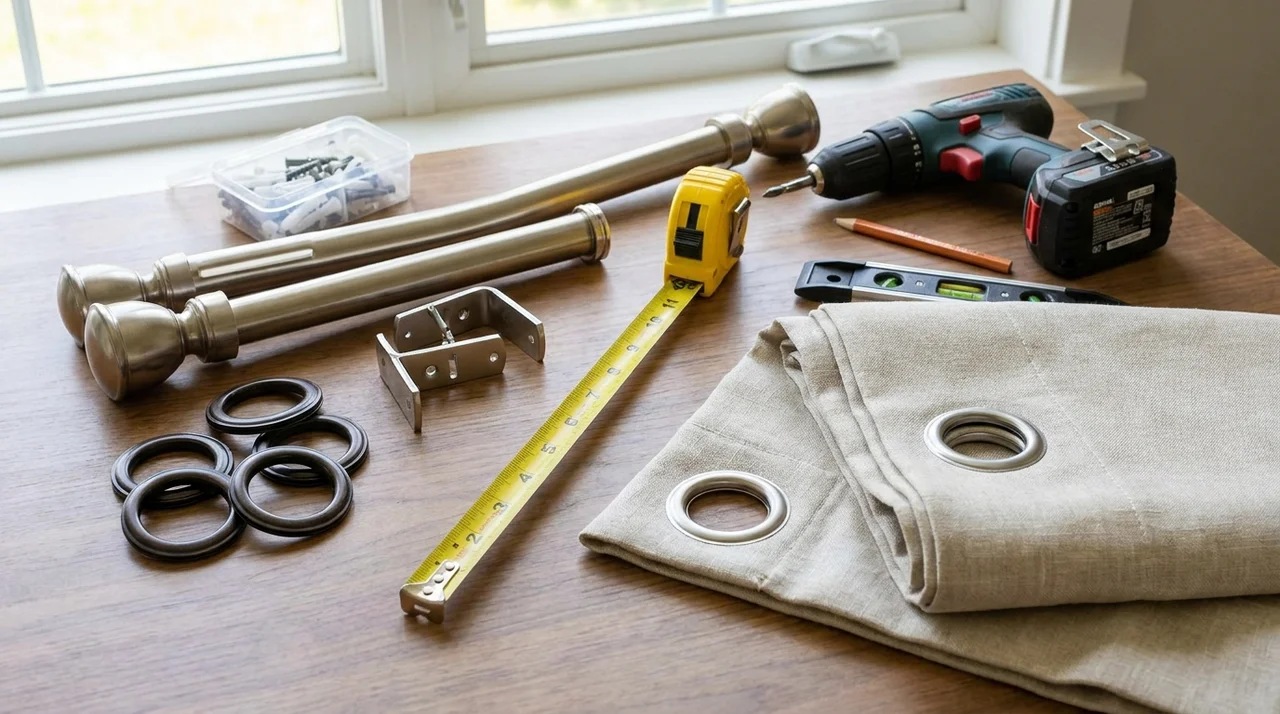
Before hanging grommet curtains, understand how they work, gather tools, pick the right rod, and check your measurements.
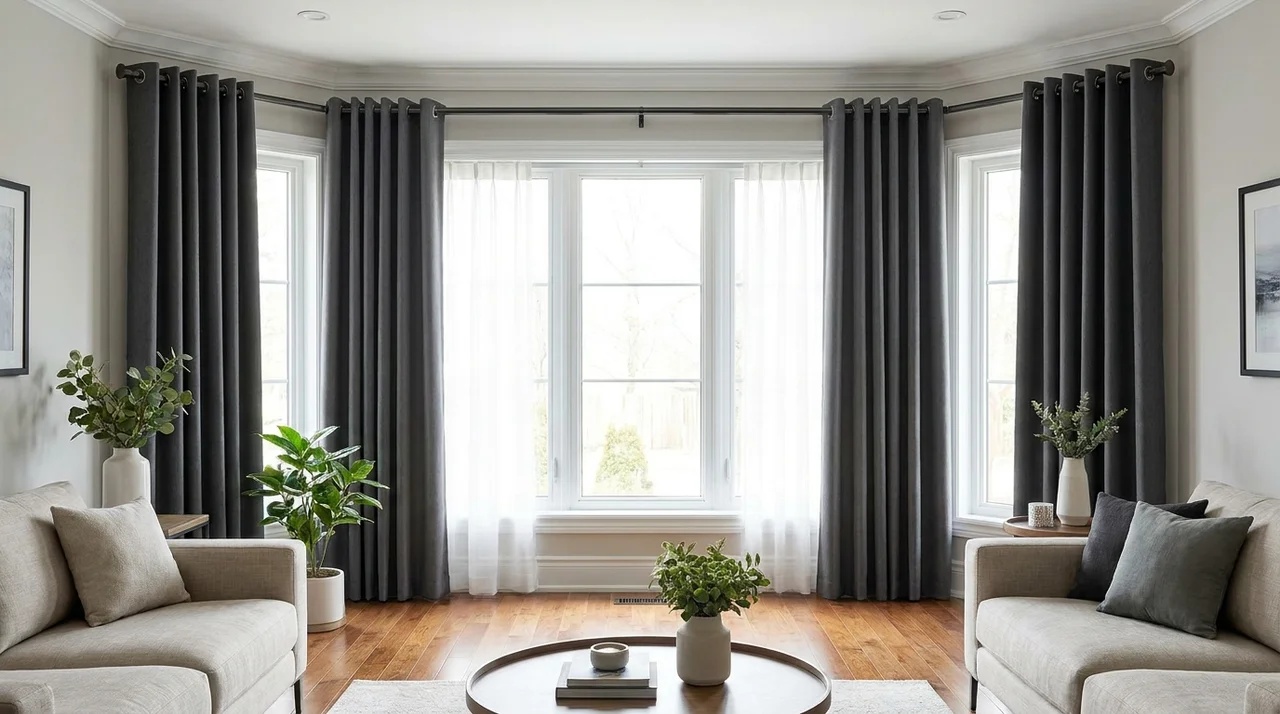
Grommet curtains have metal rings sewn into the fabric top, and the rod slides through these rings instead of hooks or a rod pocket, creating soft, natural folds. Because there are no extra hooks or rings to buy, the hardware is built right in.
Grommets have a fixed inner diameter of around 1.6 inches, so your rod must fit without being too loose or too tight.
Measure the grommet’s inner opening and choose a curtain rod that fits comfortably through it without binding.
Always check the manufacturer’s recommended rod size before buying. That number is your limit.
You need a drill, measuring tape, pencil, level, wall anchors, brackets, and your panels ready before you start.
Pick a rod between 3/4 inch and 1.5 inches in diameter and extend it 4 to 6 inches past each side of the frame.
Also choose finials that match your room hardware, such as door handles or light fixtures. It is a small detail that ties everything together.
Always write down your window width, mounting height, and curtain length before buying anything.
How to Measure for Grommet Curtains
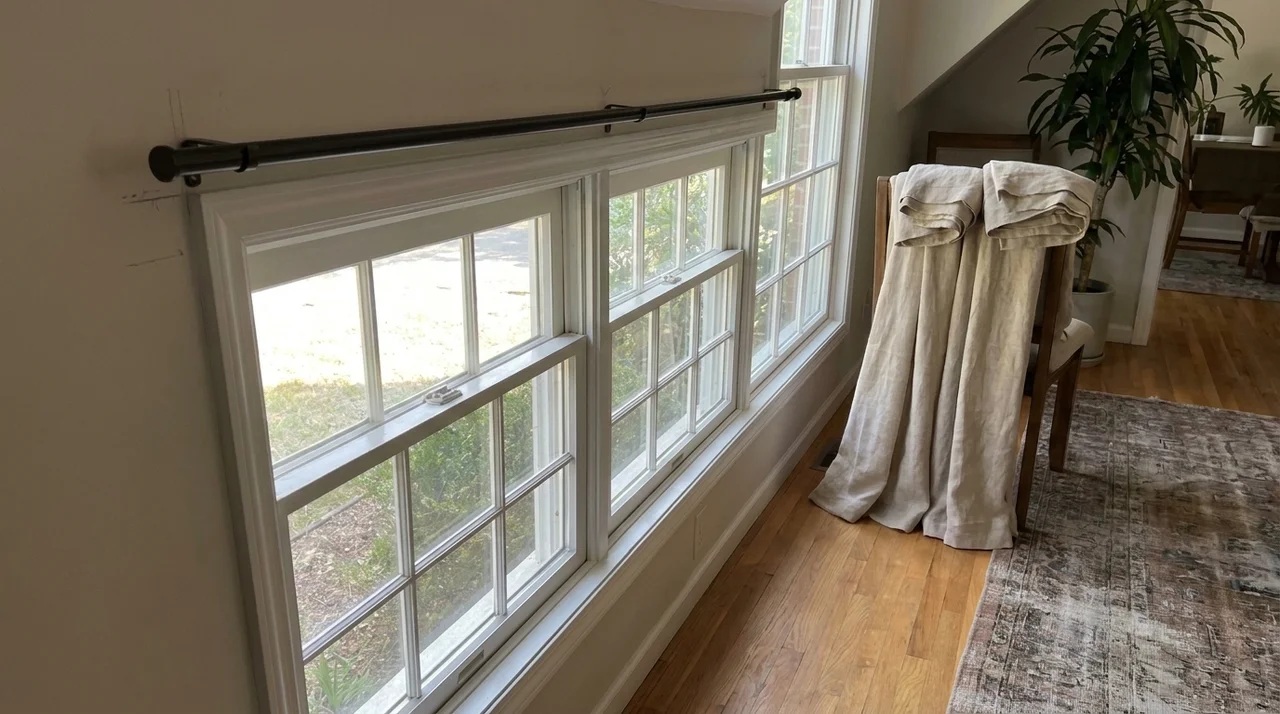
Getting the measurements right is the most important step. A few minutes here prevents a lot of frustration later.
Measure the Window Width
Use a measuring tape to find the full width of your window frame from one side to the other. This gives you your base measurement.
Your curtain rod should extend 4 to 6 inches beyond each side of the frame. So if your window is 40 inches wide, your rod should be about 48 to 52 inches long.
This extra space lets the curtain panels hang off the glass when open, which keeps the window clear and lets in more natural light.
Decide How High to Mount the Curtain Rod
Most designers suggest mounting the rod 4 to 6 inches above the window frame.
However, for rooms with standard ceiling heights, mounting the rod closer to the ceiling makes the room feel taller. If you have 8-foot ceilings, placing the rod 8 to 12 inches above the frame is a good option.
Mark this point on the wall with a pencil before you drill anything.
Determine the Ideal Curtain Length
Curtain length depends on the look you want. Here are the three most common options:
- Sill length: Curtains end at the window sill. Good for kitchens and bathrooms.
- Below sill: Curtains hang 4 to 6 inches below the sill. Works well in casual spaces.
- Floor length: Curtains end 1/2 inch above the floor. This is the most common look for living rooms and bedrooms.
Measure from the bottom of where your rod will sit down to your chosen endpoint. That is your curtain length.
Keep in mind that grommet panels come in a standard length of 84 inches, though longer sizes are available.
Calculate the Right Curtain Panel Width
For a full, gathered look, your total curtain width should be 1.5 to 2.5 times the rod length. So if your rod is 50 inches, you want 75 to 125 inches of total curtain fabric.
If your panels are too narrow less than 1.3 times the rod width they will not gather properly and may leave gaps when closed.
Most curtain panels come in widths of 52 inches. You will usually need two panels per window. Check the product details to confirm the finished width before buying.
How to Hang Grommet Curtains Step by Step
Once you have your measurements and materials ready, the actual installation goes quickly.
Step 1: Mark Where to Install the Brackets
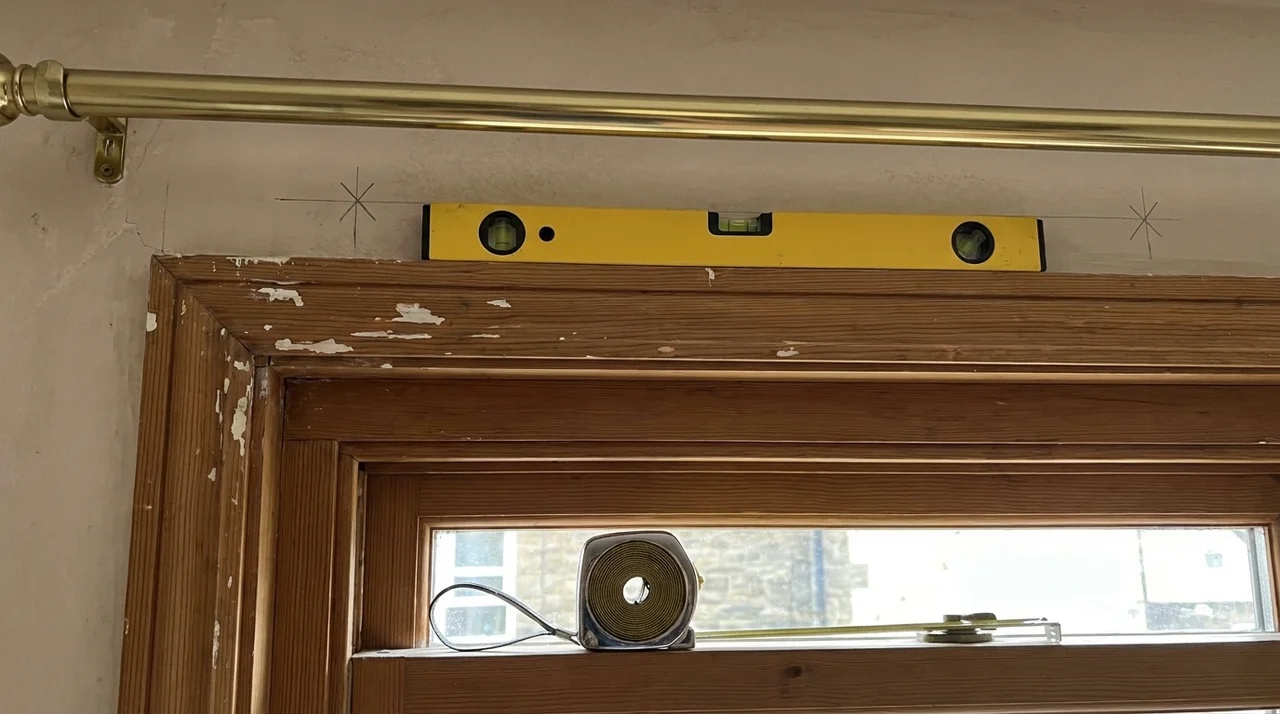
Hold your rod up at the height you chose and mark where each bracket will go with a pencil.
Use a level to make sure both marks are at the same height. If they are not even, your curtains will hang crooked.
For wide windows over 60 inches, mark a center support bracket as well. Place it in the middle of the rod span to prevent sagging.
Step 2: Drill and Secure the Curtain Rod Brackets
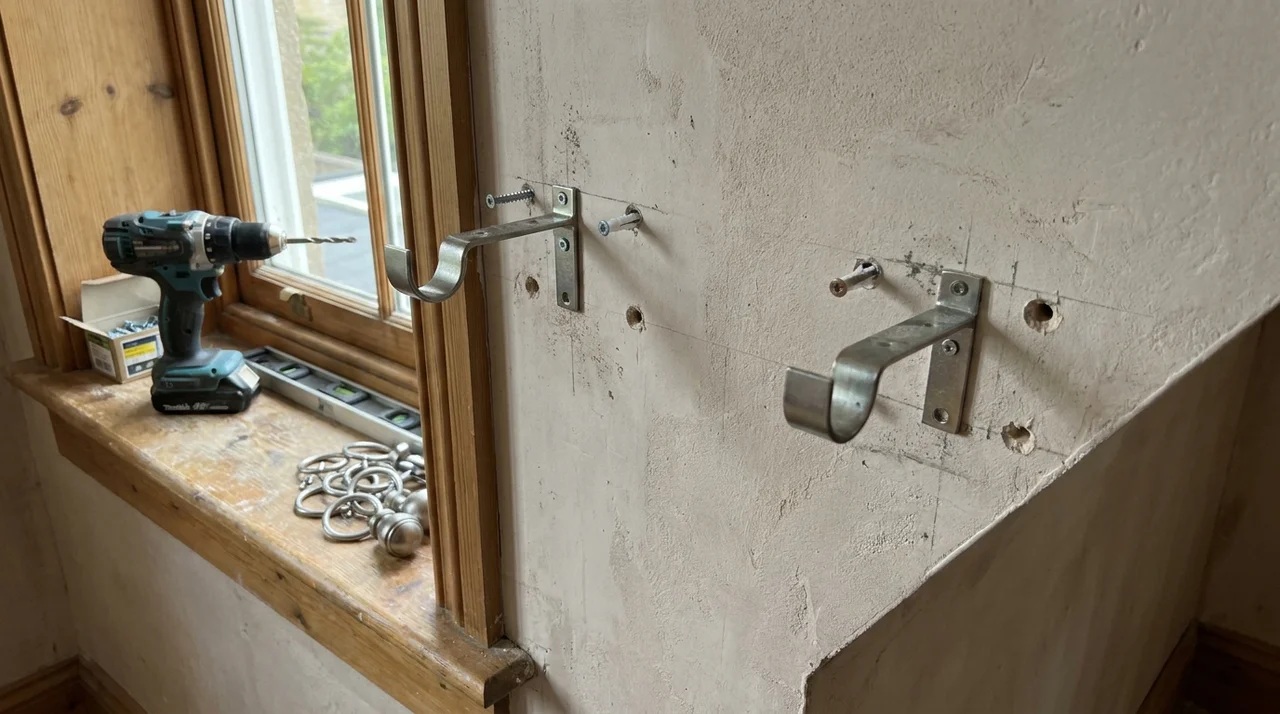
Drill a small pilot hole at each mark. If you hit a stud, use wood screws. If you do not hit a stud, insert wall anchors first, then drive the screws in.
Give each bracket a firm tug to make sure it is secure before hanging anything on it. Loose brackets are a common cause of sagging rods and curtains that fall off the wall.
Step 3: Place the Grommet Panels on the Rod
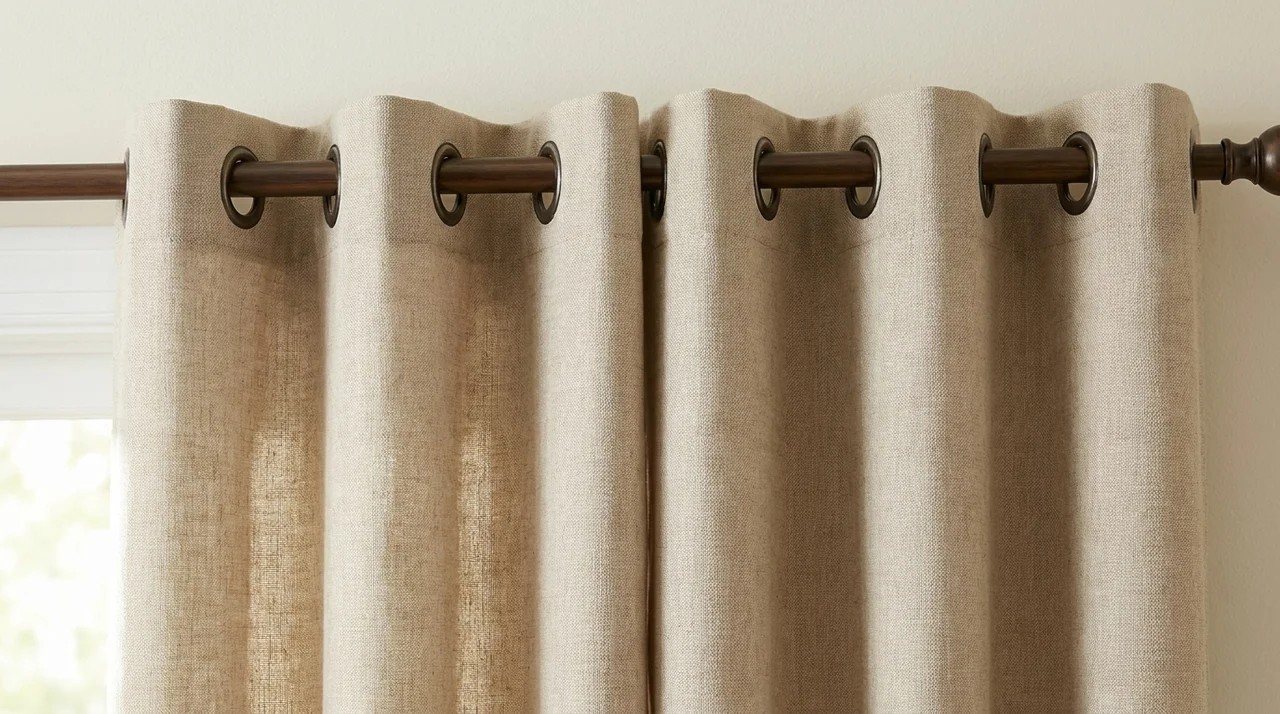
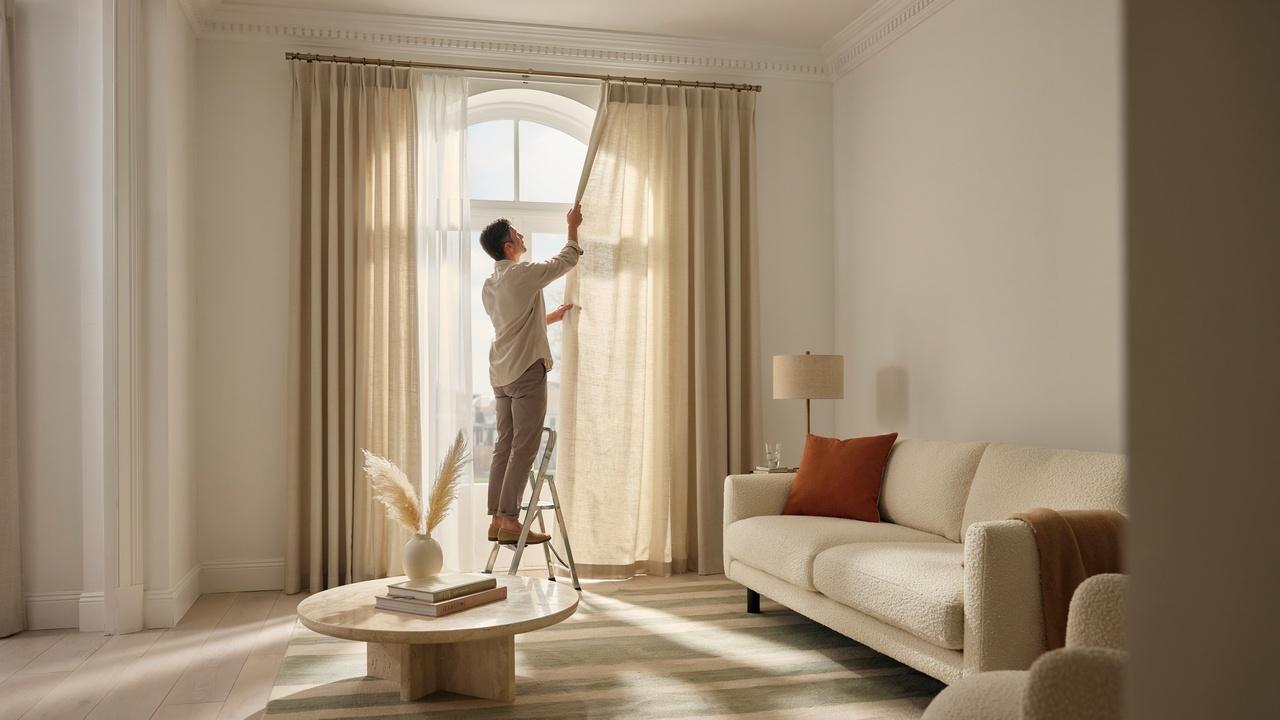
Before mounting the rod, slide the curtain panels onto it. Thread the rod through each grommet ring one at a time. Start with one panel from the left and one from the right if you are doing two panels.
Make sure all grommets face the same direction. The edge of each panel should face the wall with the fold forming a W shape, not an M.
This keeps the folds clean and reduces light leakage at the sides.
If you want sheers behind your panels, use a grommet double rod. The sheer panels hang on the inner rod and use the same measurements.
Step 4: Install the Rod and Adjust the Panels
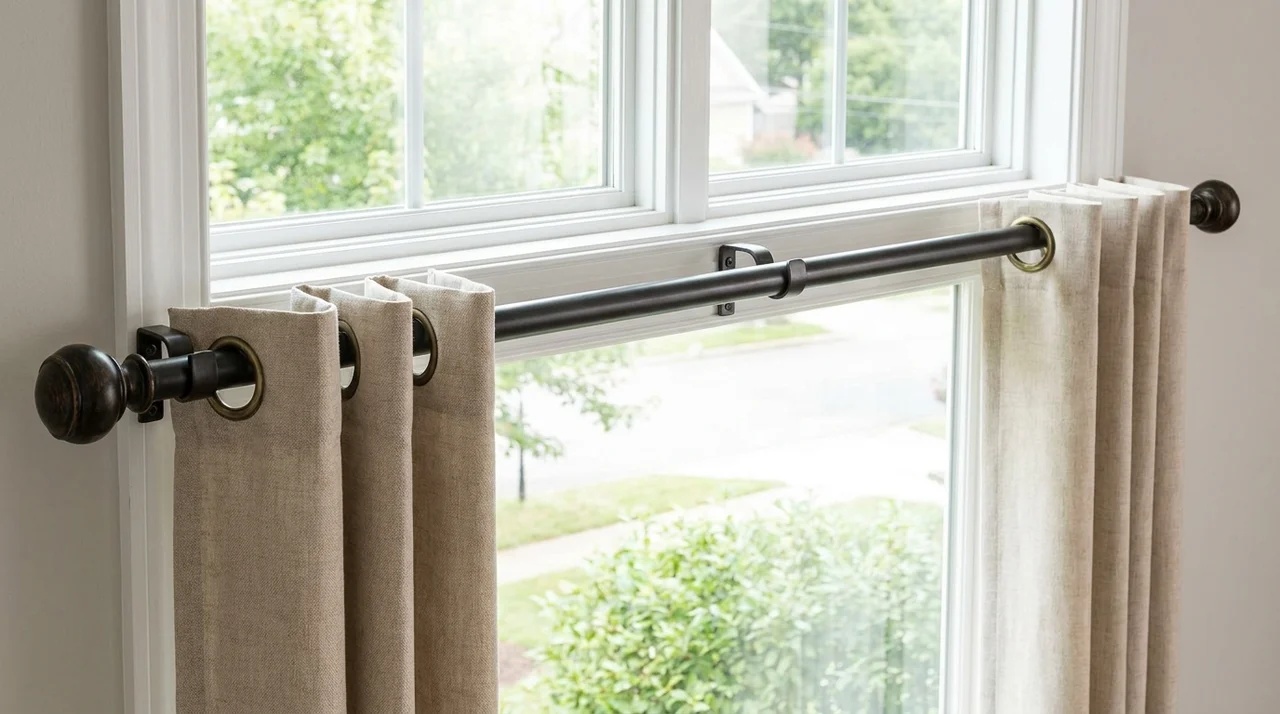
Screw the finials onto the rod ends, then set the rod into the brackets and lock it in place according to the bracket instructions.
Some brackets have a top screw to hold the rod steady. Once the rod is in, slide the panels into position so they are roughly even on both sides.
Step 5: Check the Curtains for Proper Alignment
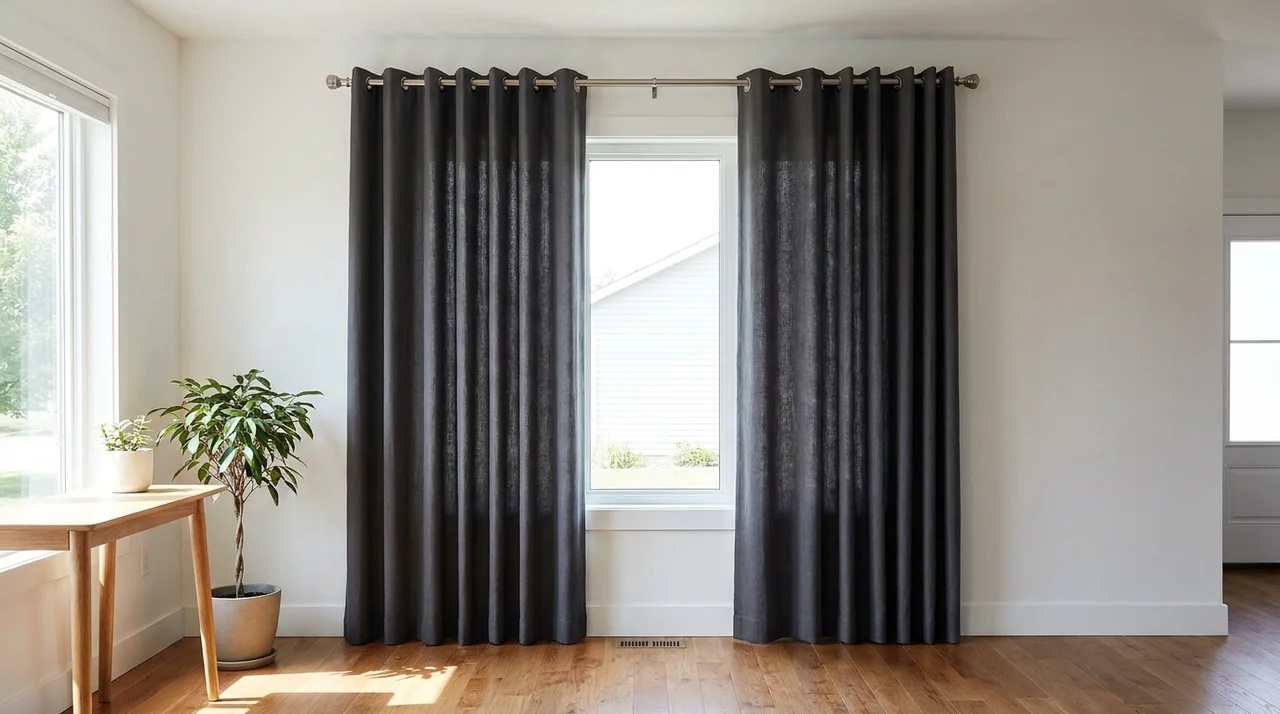
Step back and look at the panels from across the room. Check that they hang straight and that the bottoms are level. If one side looks lower, adjust the bracket height slightly.
Small adjustments here make a big visual difference.
How to Make Grommet Curtains Hang Properly
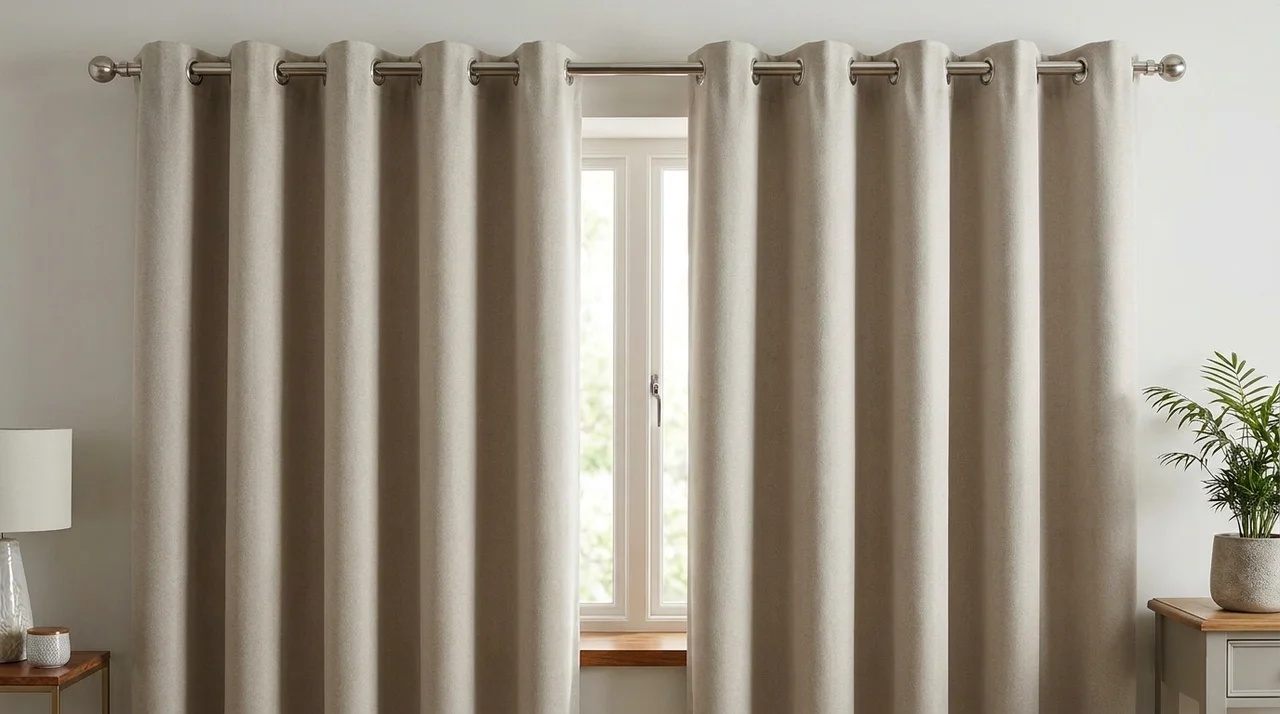
Hanging the curtains is only part of the job. Getting them to look polished takes a few extra steps.
Create Even Folds Across the Panels
Grommet curtains naturally fold between each ring. To make these folds look intentional, pull each fold out by hand and pinch it into shape. Work your way across the full panel from one edge to the other.
For best results, do this while the curtains are closed. Then leave them closed for 24 to 48 hours so the folds can set. This is especially helpful with heavier fabrics.
Position the Grommets Evenly on the Rod
After hanging the panels, space the grommets evenly along the rod. They should not be bunched together or stretched too far apart.
Each grommet should sit at a consistent distance from the next one. This eyelet spacing directly affects how the folds look. A practical trick is to place a toilet paper roll between each ring at the back to hold uniform spacing while the fabric sets.
If the grommets keep shifting, a tiny piece of removable double-sided tape under each ring can hold them in place temporarily until the fabric sets.
Set the Correct Curtain Fullness
Fullness refers to how gathered or flat the curtain looks when closed. A fullness ratio of 2:1 means the fabric is twice as wide as the rod, which creates soft, natural-looking folds.
A 1.5:1 ratio gives a flatter, more minimal look.
If your curtains look too flat, you may need an extra panel per side. If they look too bunched, try spreading them out more across the rod.
Keep Both Panels Balanced
When both panels are hanging, make sure they take up equal amounts of the rod. Each panel should reach roughly to the center of the window when closed.
If one panel looks wider or heavier than the other, adjust its position along the rod until they match.
How to Fix Grommet Curtain Problems
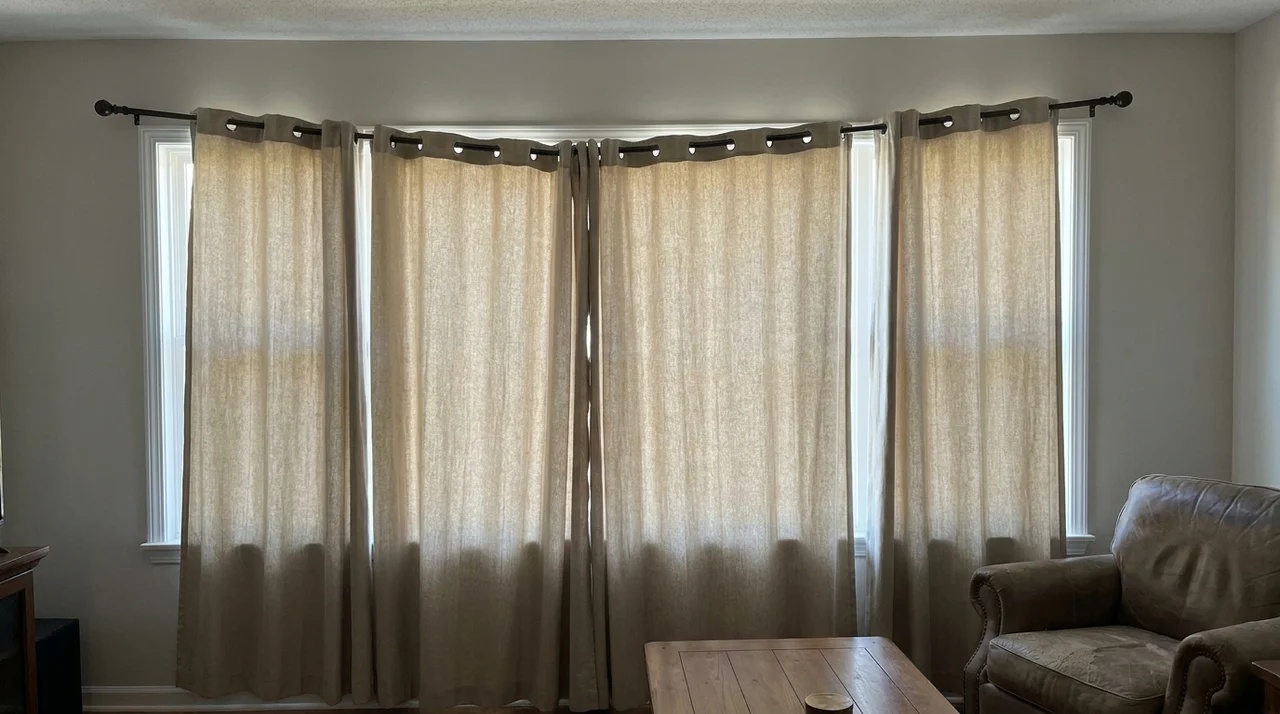
Even a careful installation can run into small issues. Here is how to handle the most common ones.
Curtains Do Not Slide Smoothly
This usually means the rod diameter is too close to the grommet inner diameter, creating friction.
First, check that the rod diameter is compatible with the grommets, then clean the rod and make sure it is straight and securely installed. Avoid oil-based products as they can stain fabric.
If that does not help, check if the rod is slightly bowed. A bent rod creates uneven pressure on the grommets and slows their movement.
Also make sure the rod sits at least 3.5 inches from the wall so panels can move freely without rubbing the surface behind them.
Panels Hang Unevenly
Uneven panels usually come from brackets that are not level. Take a level and check both bracket heights again.
Even a small difference of half an inch shows clearly when you step back. Adjust the lower bracket up or the higher one down until both match.
Also check that each panel has the same number of grommets on the rod. Miscounting is an easy mistake that throws off the balance.
Grommets Make Noise When Moving
Metal grommets on a metal rod can create a scraping or clicking sound. The fix is simple. Wrap a small strip of felt tape around the rod at each grommet contact point.
This adds a soft buffer and stops the noise without affecting how the curtains look.
Curtain Rod Bends or Sags
A sagging rod usually means it is spanning too wide without center support. Add a center bracket to the rod to take some of the weight off the ends.
If the rod itself is too thin for the curtain weight, replace it with a thicker or heavier-duty rod.
Always match your rod strength to your curtain fabric weight. Heavy velvet or blackout curtains including those with built-in blackout lining need a stronger rod than lightweight sheers.
Curtains Do Not Fully Cover the Window
If the curtains do not meet in the middle or leave gaps on the sides, the panels are too narrow. Go back to your fullness calculation. You likely need wider panels or an extra panel per side.
Also check that the rod extends far enough past the window frame. If the rod is too short, the curtains will start too close to the glass and will not cover it fully when closed.
Expert Tips for Better Curtain Installation
A few small things can make a big difference in the final result.
- Use a laser level instead of a bubble level when marking bracket positions since even a quarter-inch misalignment shows once the curtains are up.
- Steam your curtains before hanging them. New panels often come with deep creases from packaging, and a handheld steamer works better than an iron on most curtain fabrics. Make sure the area around the grommets is smooth so they glide easily on the rod.
- Choose a rod finish and finials that match your room hardware like door handles or light fixtures for a more finished look.
- If you rent, consider removable adhesive brackets only when they are specifically rated for your rod and curtain weight. Follow the manufacturer’s weight and wall-surface limits.
- Always install curtains with a helper if possible so one person holds the rod while the other checks alignment, cutting time and reducing errors.
Conclusion
Hanging grommet curtains is a straightforward job when you take it step by step. Measure carefully, level your brackets, and take time to set the folds after hanging.
When you know how to hang grommet curtains correctly, the results look polished and professional.
Small details, like even grommet spacing, the right rod diameter, and proper W-fold orientation, make a real difference. Give it a try this weekend and see how much better your windows can look.
If this guide helped you, share it with someone who could use it or drop a comment below with how your curtains turned out.
Frequently Asked Questions
Can I use grommet curtains on a tension rod?
Only if the tension rod fits through the grommet rings and is rated for the curtain weight. Most tension rods are too thin or weak for standard grommet panels.
How many grommet panels do I need for one window?
Most windows need two panels. Wider windows over 72 inches may need three or four panels for proper coverage and fullness.
Do grommet curtains work with blackout lining?
Yes, many grommet curtains come with built-in blackout lining. You can also add a separate blackout liner behind standard grommet panels.
What grommet size fits most standard curtain rods?
Check the grommet’s inner diameter and the curtain manufacturer’s recommended rod size before choosing a rod. The rod should slide through the grommets without binding.
Should grommet curtains touch the floor?
For a clean, formal look, curtains should hover about half an inch above the floor. For a relaxed style, a slight puddle of one to two inches works well.