

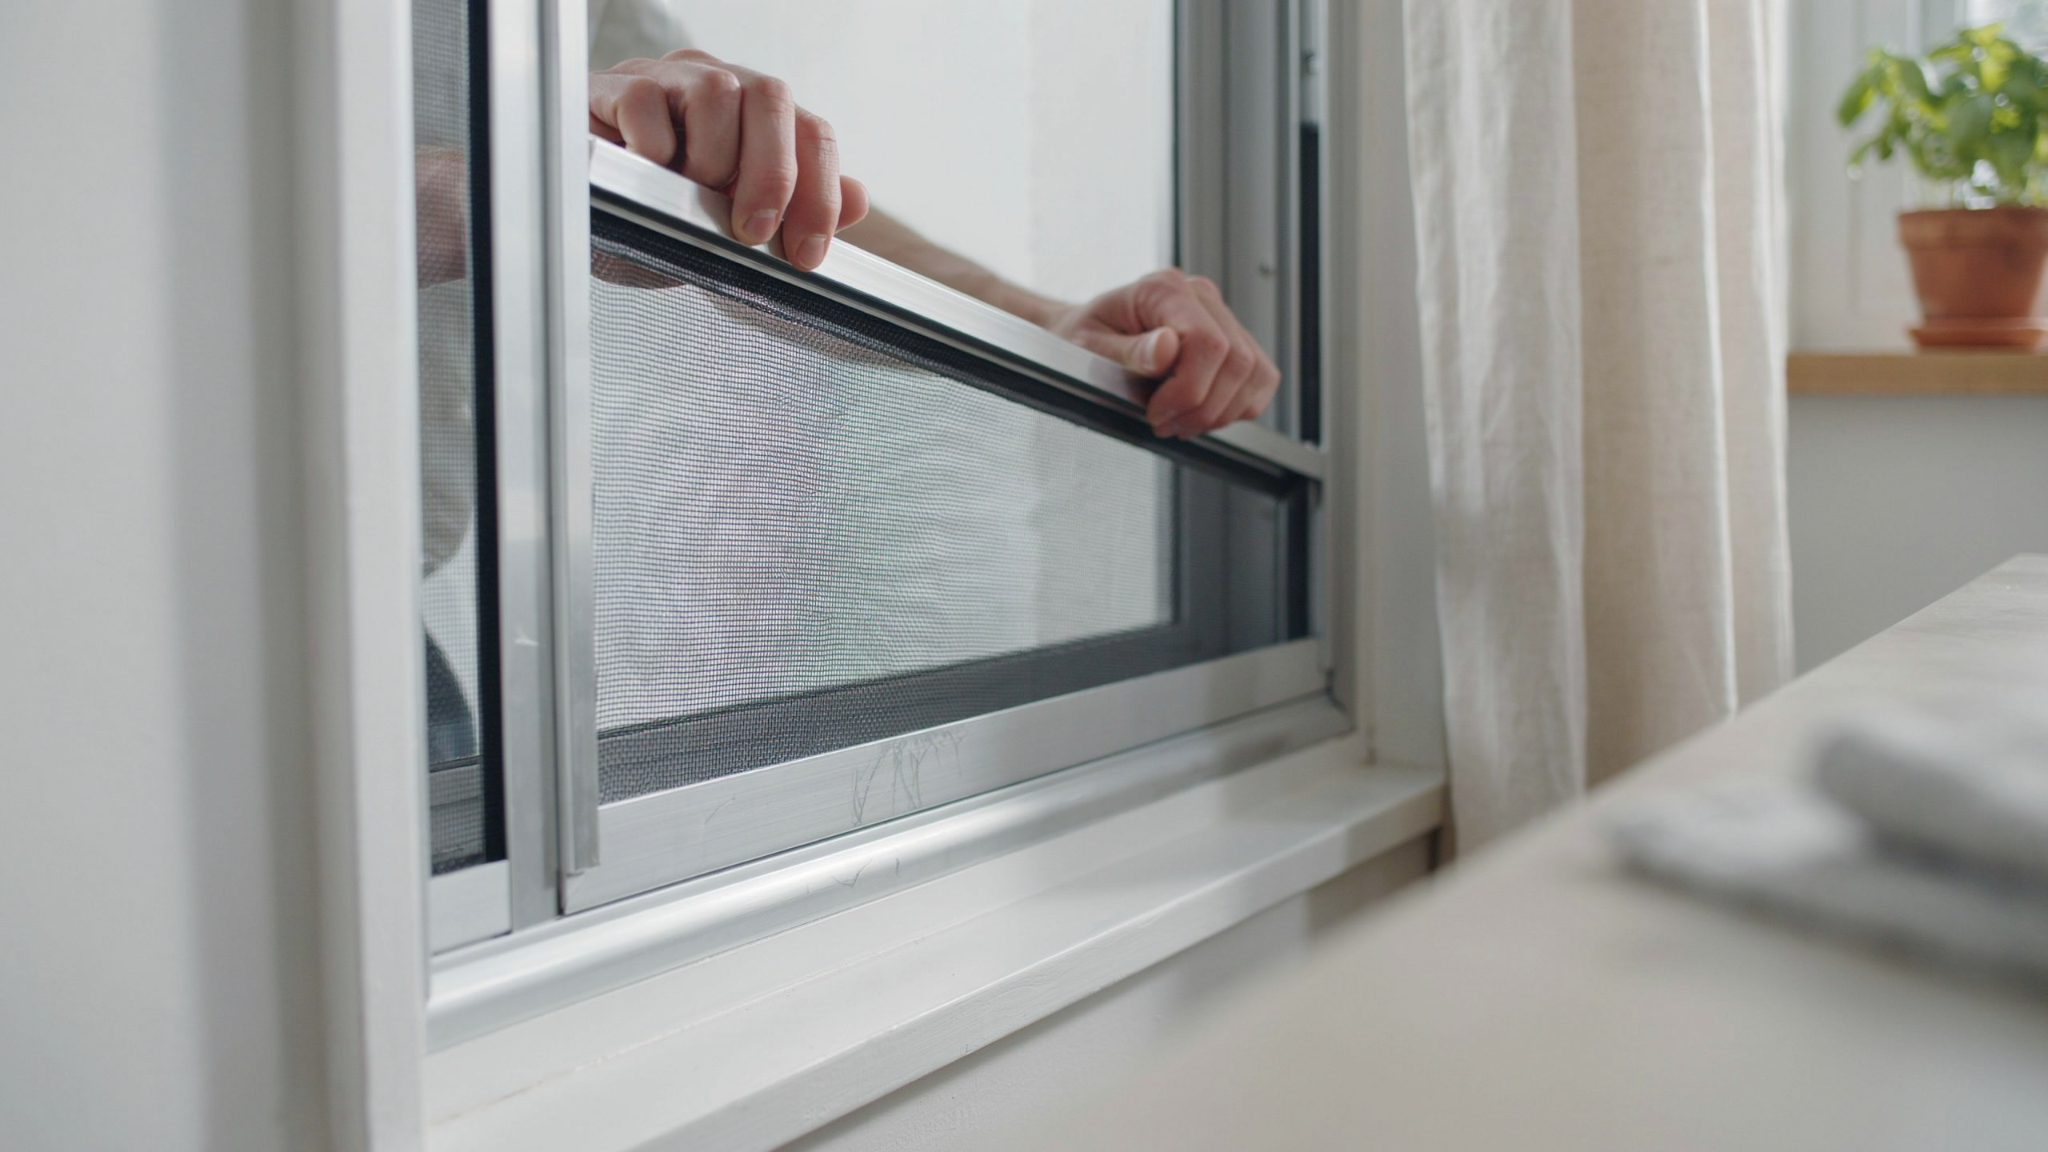
The first time I tried to remove a window screen, I pulled from the mesh instead of the frame and bent the whole thing out of shape. Completely avoidable mistake.
Knowing how to remove window screen correctly takes less than five minutes once you understand the type you're working with.
But without that knowledge, it's easy to damage the frame, tear the mesh, or miss a hidden locking clip entirely.
I've removed and reinstalled dozens of screens across different window types. In this guide, I'm walking you through every step so you get it right without any guesswork.
What Is a Window Screen and Why You May Need to Remove It
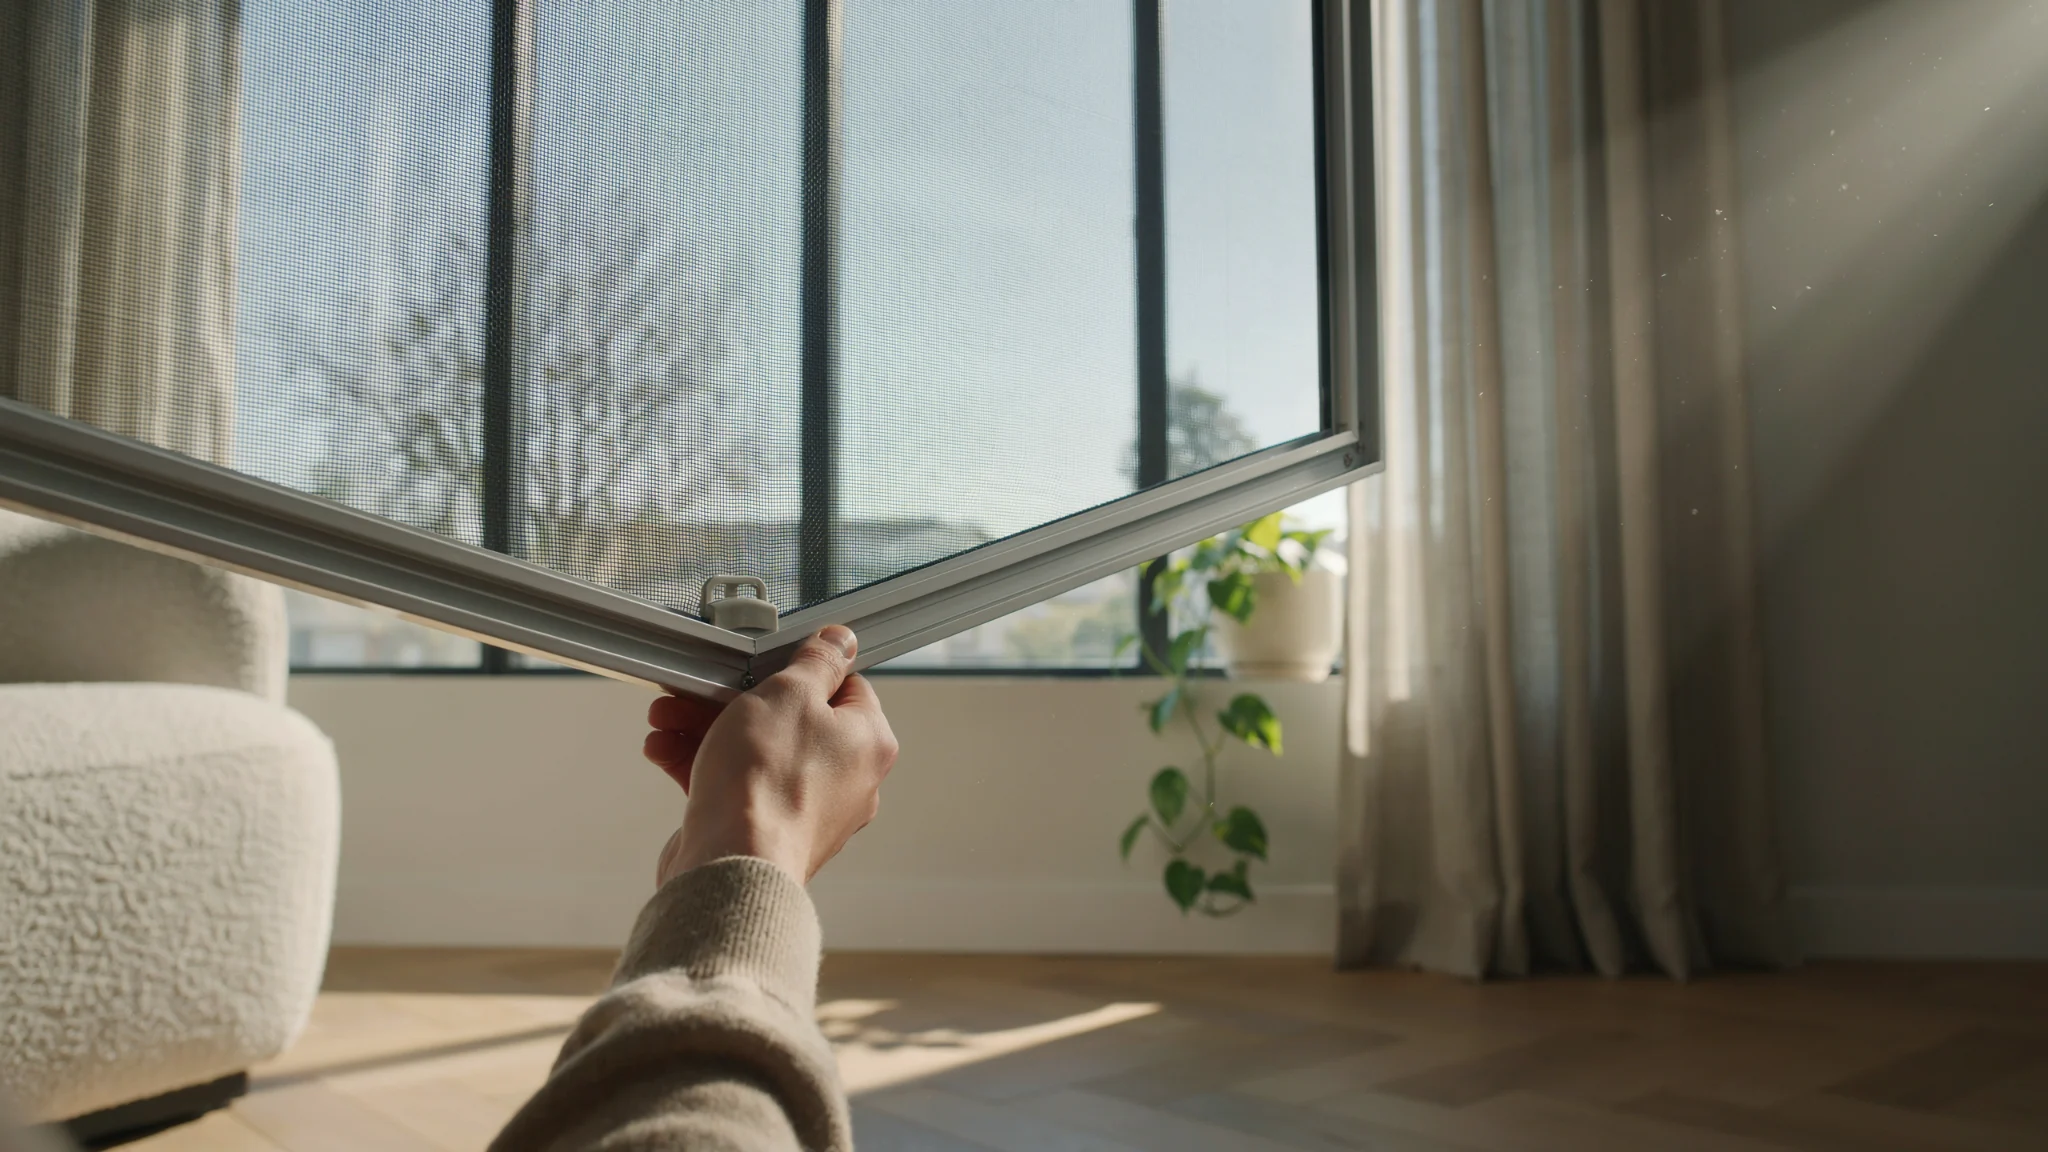
Window screens are mesh panels fitted into window frames to block insects and dust while allowing airflow. Simple in design, important in function.
Common reasons to remove one include dust and pollen buildup reducing airflow, torn mesh needing repair, seasonal removal for better light, and window maintenance or repainting.
The key is removing it without damaging the mesh or bending the frame in the process.
How to Remove Window Screen: Step-by-Step Guide
Most window screens are designed to come out from the inside. Here's how to do it cleanly, one step at a time.
Step 1: Identify the Type of Window Screen
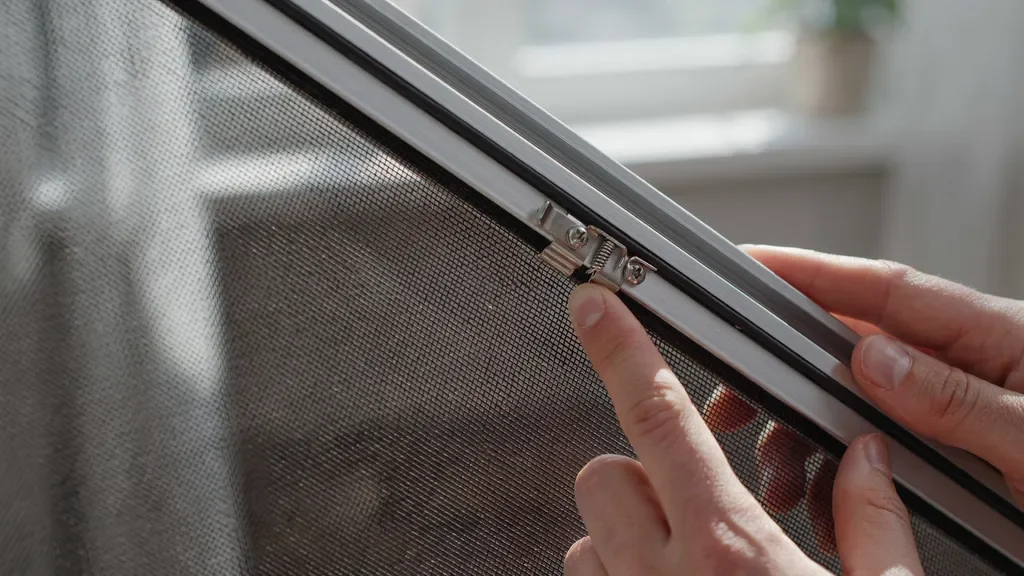
Before touching anything, figure out what type of screen you have. The four main types are fixed, sliding, spring-loaded, and hook-type screens.
Each releases differently. Knowing which one you have prevents you from forcing the wrong mechanism. Look at the frame edges and corners for tabs, clips, or visible springs.
Step 2: Unlock or Release the Screen
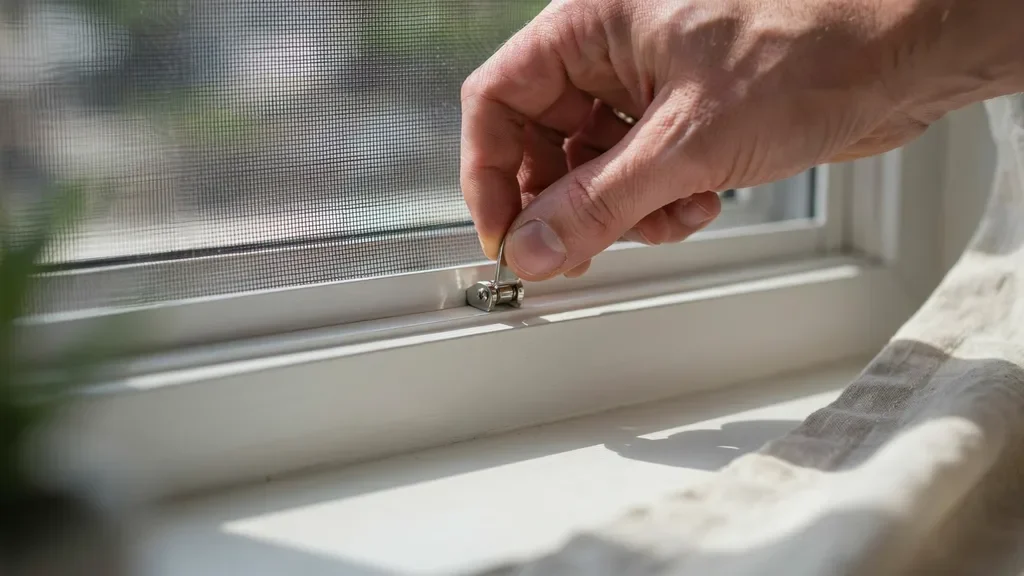
Run your fingers along the inner frame edges to find tabs, clips, or latches. Press or slide the locking mechanism gently without forcing it.
If it resists, check for a second clip on the opposite side. Some older screens rely purely on friction and just need a firm, controlled push inward before lifting out.
Step 3: Open the Window Fully
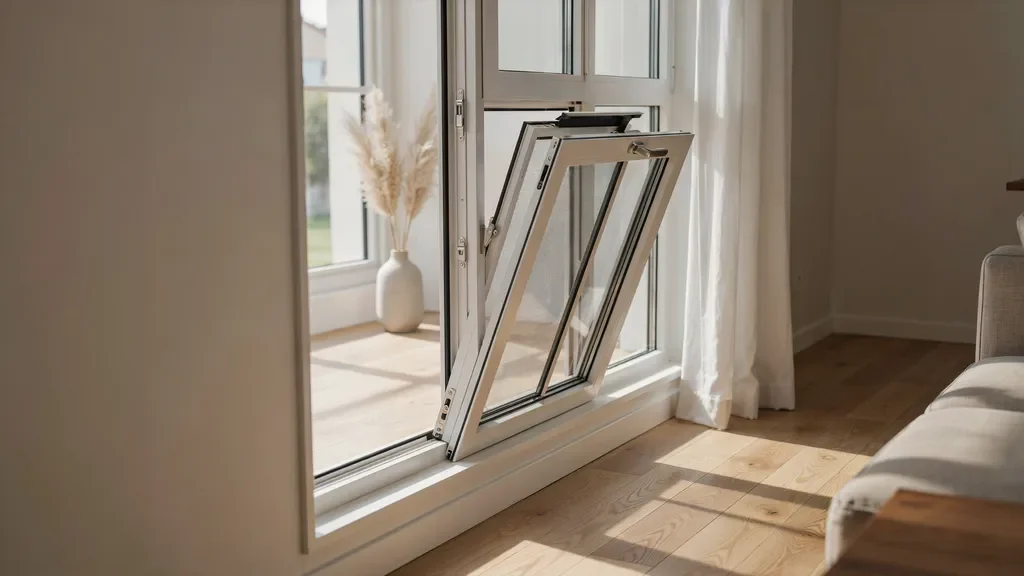
Open the window as wide as it goes before attempting removal. This gives you the clearance to tilt and lift the screen out without scraping the frame.
Trying to remove a screen through a partially open window is one of the most common causes of bent frames and torn mesh.
Step 4: Locate the Pull Tabs or Handles
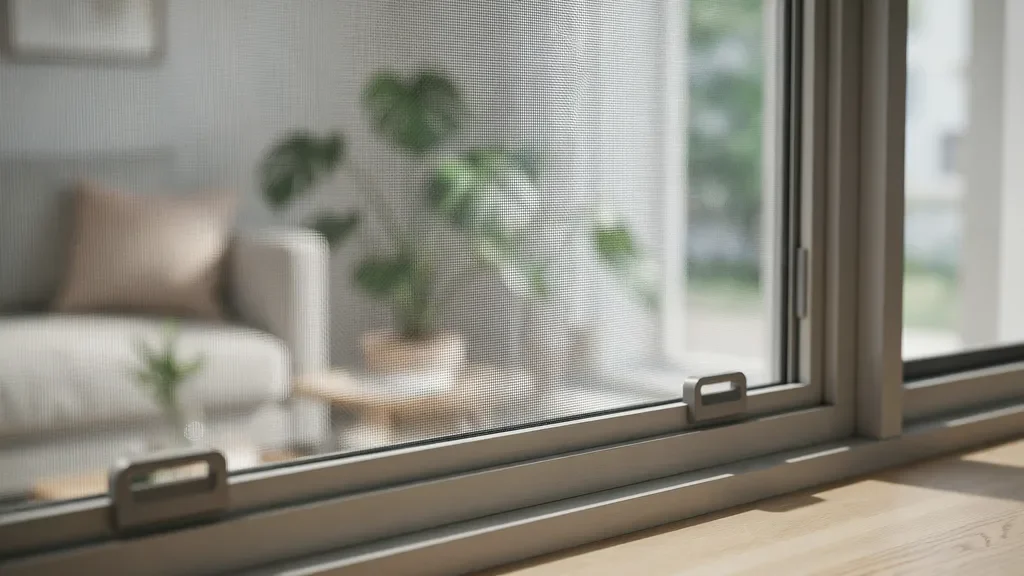
Most screens have small pull tabs at the bottom corners or along the sides. Use both hands and grip firmly but without squeezing hard.
If your screen has no pull tabs, grip the frame itself at the corners. Never grab the mesh directly.
Step 5: Tilt the Screen Outward
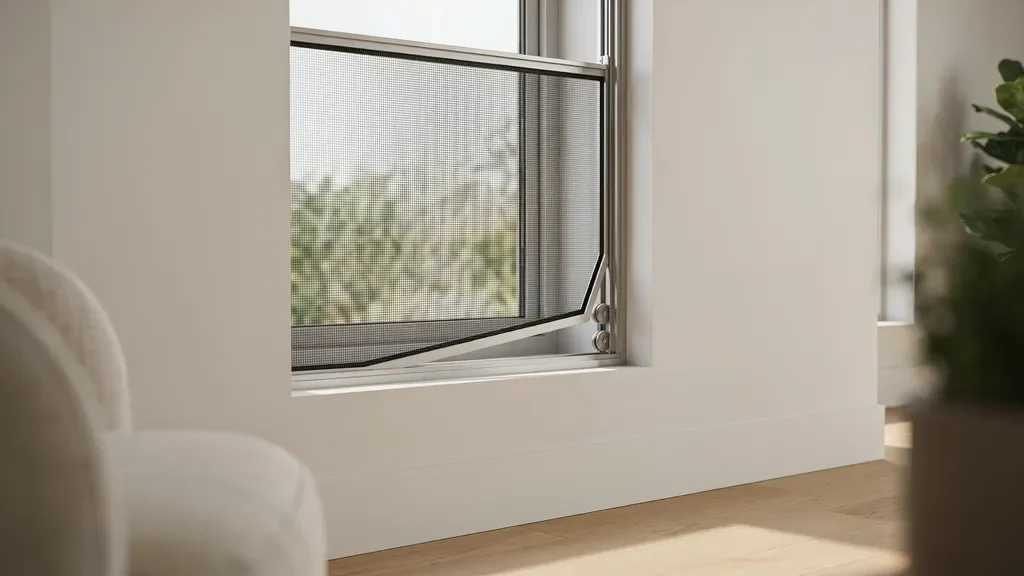
Push the bottom or top edge outward slightly to disengage it from the frame groove. Most screens tilt out from the bottom first.
Go slowly and let the screen guide you. If it resists, stop and recheck for any remaining clips before pushing further.
Step 6: Lift and Detach the Screen Frame
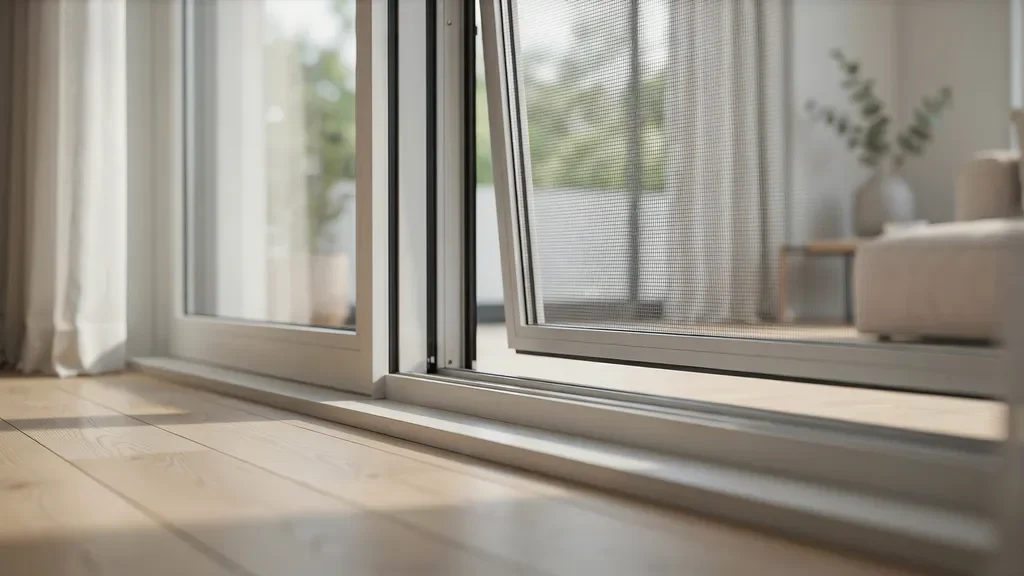
Once tilted, lift straight up and out of the lower track, or slide sideways depending on the screen type. Keep the screen level as you disengage it.
For sliding screens, push to one side until the frame clears the track, then angle it inward to bring it inside.
Step 7: Remove Completely and Store Safely
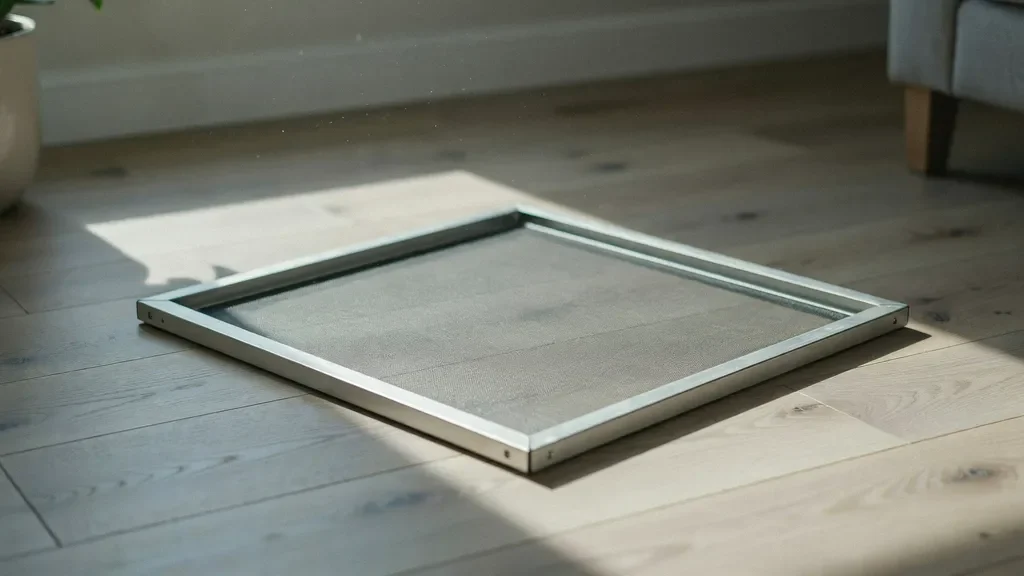
Lay the screen flat on a clean surface immediately after removal. Never lean it against a wall at an angle or stack items on top.
Screens stored vertically for long periods can warp. A flat surface keeps the frame straight until you're ready to clean or reinstall.
How to Remove Window Screen From Inside
Most modern windows allow you to handle how to remove window screen from inside without external access or tools.
Keep these tips in mind before starting:
- Use both hands throughout. One for control, one for support.
- Check for hidden locks inside the frame. Some screens have secondary clips that aren't immediately visible.
- Never push hard outward. Resistance usually means a clip is still engaged.
- Work in good lighting. Easy to miss tabs and clips in dim conditions.
Take your time. Rushing is the main reason screens get damaged during what should be a simple process.
Safety Tips Before Removing Window Screen
A few safety basics worth keeping in mind before you start:
- Open the window fully and make sure it's stable before touching the screen
- Avoid leaning out of upper-floor windows at any point during removal
- Keep children away from the area while screens are being handled
- Handle aluminum frames carefully as they bend easily under uneven pressure
Simple precautions that prevent avoidable accidents.
Types of Window Screens You Should Know
Knowing your screen type before removal saves time and prevents damage:
- Sliding screens move horizontally along a track and lift out once slid to one end
- Fixed frame screens sit in a channel and tilt out after clips are released
- Retractable screens roll into a housing unit and don't require removal for cleaning
- Magnetic screens pull away from the frame with minimal effort
- Spring-tension screens release when pushed inward
Identifying yours first makes every step after it much easier.
How to Clean Window Screens After Removal
Start with a soft brush or vacuum to remove loose dust from both sides of the mesh. Then wash with mild soap and warm water using a soft cloth, scrubbing gently along the mesh.
Rinse thoroughly and dry completely in a flat position before reinstalling. A damp screen put back into the frame traps moisture and encourages mold.
Avoid harsh chemical cleaners. They break down mesh material over time and shorten the screen's lifespan.
How to Reinstall Window Screen
Align the screen frame with the track before inserting. Forcing a misaligned screen bends the frame or damages the groove.
Insert the top edge into the upper track first, then angle the bottom in and press gently until flush. For sliding screens, insert one side and slide across to the other end.
Press firmly along the frame edges to confirm all clips have engaged. Then test by pushing gently from outside. It should not move or flex.
Conclusion
Here's the truth: how to remove window screen is one of those tasks that sounds fiddly but takes under five minutes once you've done it once.
And now you have everything you need to do it right the first time. No bent frames. No torn mesh. No frustration.
Go try it on one window today and see how straightforward it actually is. Then come back and tell me how it went.
Which screen type are you working with? Drop it in the comments. I'd love to hear from you.
Frequently Asked Questions
Can I Remove a Window Screen From Inside the House?
Yes, most modern window screens are designed for easy removal from inside without any tools needed.
Why Is My Window Screen Stuck?
It's usually caused by dirt buildup in the track, a tight frame fit, or a hidden locking clip that hasn't been released.
Do All Window Screens Come Out the Same Way?
No, removal method depends on whether the screen is sliding, fixed, spring-loaded, or another type entirely.
Can I Damage the Window While Removing the Screen?
Yes, forcing the screen or pulling from the mesh instead of the frame can damage both the screen and window frame.
How Often Should I Remove and Clean Window Screens?
At least twice a year keeps airflow strong and prevents dust and pollen from building up on the mesh.