I've hung curtain rods in more rooms than I can count, and the bracket placement always makes or breaks the final look.
Get it wrong, and your curtains sag, look off-center, or pull out of the wall.
In this article, I'll walk you through where to place curtain rod brackets correctly, step by step.
You'll learn the right height, the right spacing, and how to handle different window types. I've made the mistakes so you don't have to.
By the end, you'll know exactly what to do before you pick up a drill.
Why Correct Curtain Rod Bracket Placement Is Important
Bad bracket placement causes more problems than people think. If the brackets sit too low, your curtains won't make the ceiling feel tall.
If they're too close together, the rod can bow in the middle. And if they're not anchored into studs or proper wall anchors, the whole thing can come down.
Getting this right keeps the rod secure and stable. It also makes the window look taller and wider, which changes how the whole room feels.
On top of that, correct placement prevents wall damage over time, so you're not left filling holes and repainting later.
I always say: a few extra minutes of planning saves a lot of patching and rehanging later.
Tools and Materials Needed for Curtain Rod Installation

Before you start, gather everything you need. This saves time and prevents mid-job trips to the hardware store.
Here's what I use:
- Measuring tape
- Pencil
- Level
- Drill and drill bits
- Wall anchors (if no studs are available)
- Screws (usually included with brackets)
- Curtain rod brackets
- Stud finder
That's it. Nothing complicated. Having these ready before you start makes the job go faster.
Steps to Place Curtain Rod Brackets
Follow these steps in order and you won't have to redo anything.
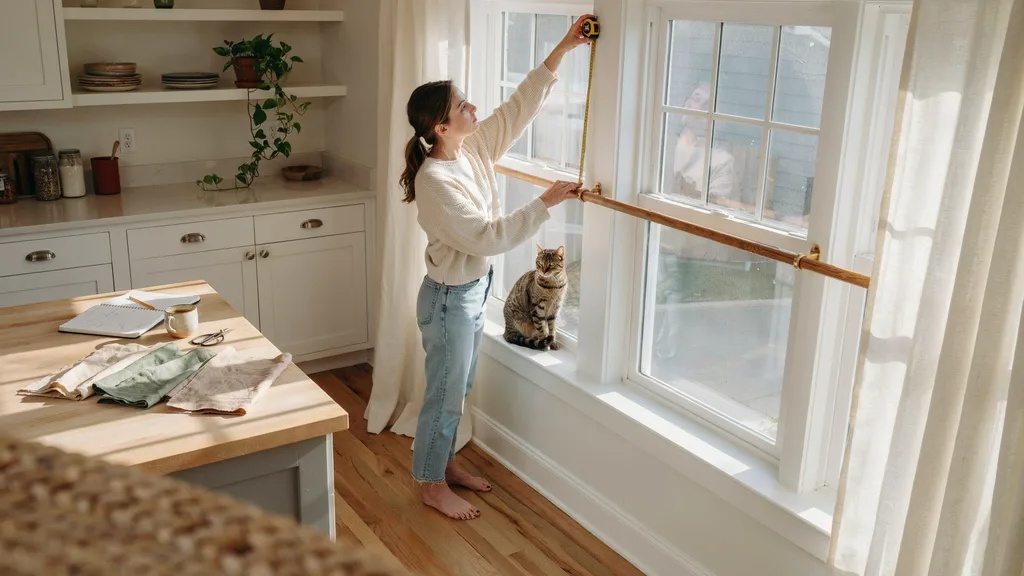
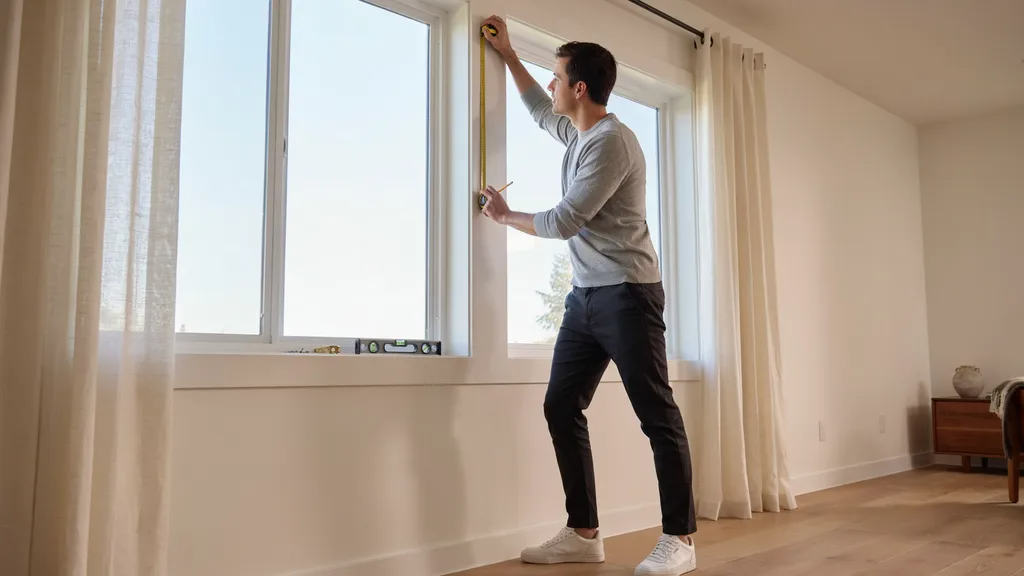
Step 1: Measure Your Window Before Placing Brackets

Start by measuring the full width of your window frame. Write it down.
I also measure the height from the floor to where I want the rod to sit. This helps me figure out curtain length before buying anything.
Measure twice. It's a small habit that saves big headaches.
Step 2: Determine the Correct Height for Curtain Rod Brackets
Most people hang the rod too low. That's one of the most common mistakes.
The standard rule: place the rod 4 to 6 inches above the window frame. But if you want the ceiling to feel higher, go 8 to 12 inches above the frame, or even closer to the ceiling.
Higher placement makes a room feel more open. I always go higher when I can.
Step 3: Mark Where Curtain Rod Brackets Should Be Placed

Once you know the height, use a pencil to mark the spot on the wall.
Mark the left bracket first, then use a level to make sure the right bracket mark is at the same height. This step matters a lot. Even a small difference is visible once the rod is up.
I always double-check with the level before drilling anything.
Step 4: Decide How Many Curtain Rod Brackets You Need

For rods up to 48 inches wide, two brackets work fine.
For rods between 48 and 96 inches, add a center support bracket. This stops the rod from sagging in the middle. For anything wider, use one center bracket for every 36 to 48 inches of rod length.
Don't skip the center bracket on wide windows. I've seen rods bend under the weight of heavy curtains.
Step 5: Locate Studs or Prepare Wall Anchors

Whenever possible, drill into wall studs. It's the most secure option.
Use a stud finder to locate them. If your bracket placement doesn't line up with a stud, use drywall anchors rated for the weight of your rod and curtains.
I always check the weight rating on anchors before buying. Most curtain setups are light, but thick blackout curtains can surprise you.
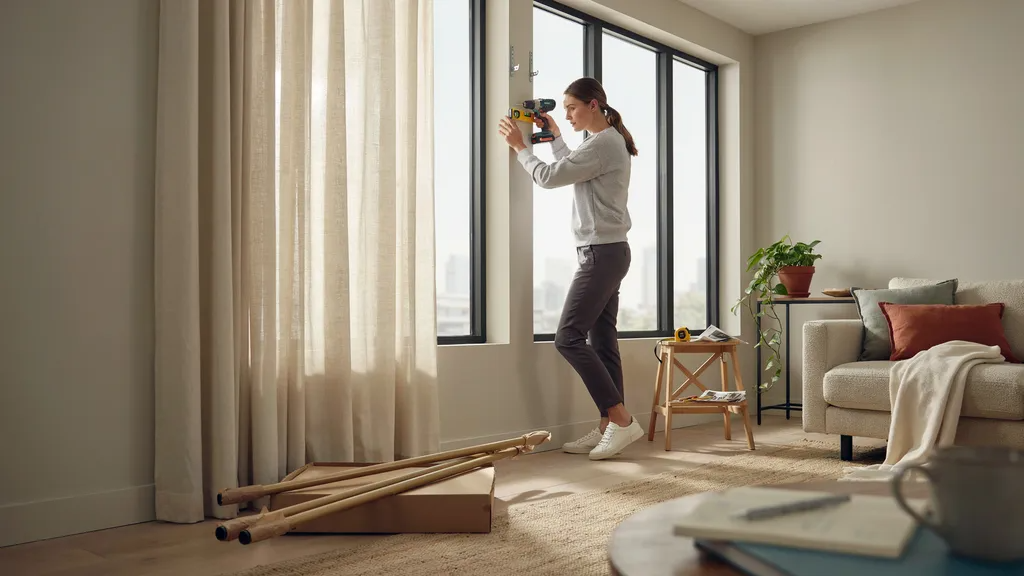
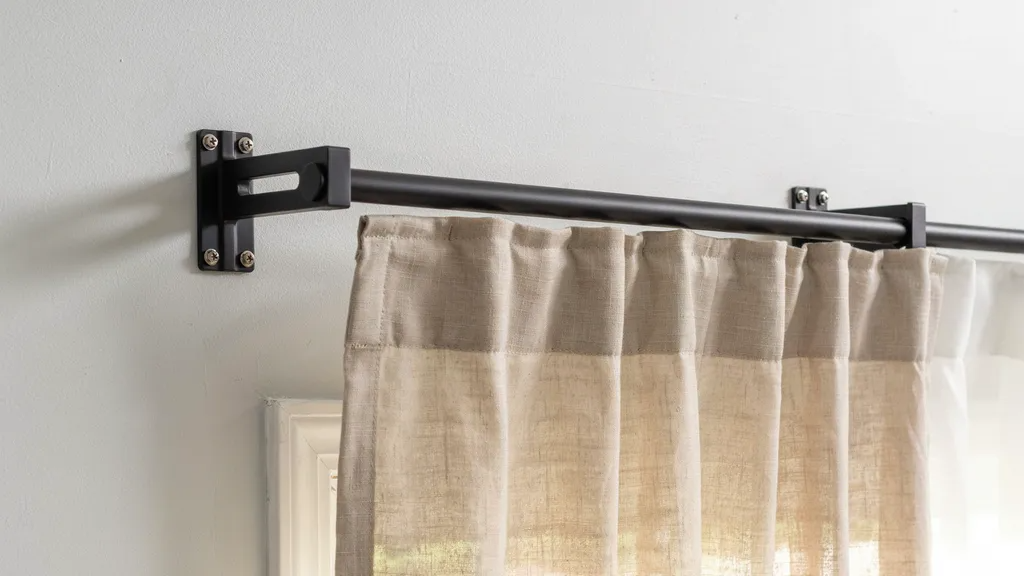
Step 6: Install Curtain Rod Brackets

Hold the bracket on your pencil mark. Use a drill to make pilot holes, then screw the bracket in place.
Check that it's flush against the wall. A bracket that tilts even slightly will make the rod sit unevenly.
Repeat on the other side. Check the level again after both brackets are up.
Step 7: Install the Curtain Rod and Test Bracket Stability

Slide your curtains onto the rod before placing it in the brackets.
Set the rod into the brackets and tighten the screws. Then give the rod a firm tug. It should not move.
If it shifts or feels loose, remove it and check the bracket screws or wall anchors.
I always test stability before hanging expensive curtains. Much easier to fix now than after.
Curtain Rod Bracket Placement Guidelines for Different Window Types

Not every window is the same, so the approach needs to change too.
1. Standard Windows
Place brackets 4 to 6 inches above the frame and 3 to 4 inches outside the frame on each side. This lets the curtains clear the glass fully when open.
2. Wide Windows
Use a center support bracket for any rod over 48 inches. Space outer brackets evenly from the center. This keeps the rod from bowing.
3. Bay Windows
Bay windows need brackets at each corner and at the wall on each end. Specialty bay window rods come with adjustable connectors. Measure each section separately before buying.
4. Floor-to-Ceiling Windows
Mount the rod as close to the ceiling as possible. Use ceiling-mount brackets if the wall space is very narrow. Keep the curtains long enough to just touch or slightly puddle on the floor.
5. Small Windows
Even small windows benefit from a wider rod placement. Extend brackets 6 inches beyond the frame on each side. This makes the window look bigger and lets in more light when curtains are open.
Common Curtain Rod Bracket Placement Mistakes to Avoid
These are the errors I see most often, and they're all easy to prevent.
- Hanging the rod too close to the window frame
- Skipping the level and eyeballing the height
- Not using a center support on wide windows
- Using wall anchors that can't hold the weight
- Placing brackets too close to the edge of the frame where drywall is thin
- Not accounting for the curtain rod's projection from the wall
- Forgetting to check if the rod fits inside the brackets before drilling
I've made most of these at some point. The level one gets me every time I rush.
Pro Tips for Professional-Looking Curtain Rod Installation
A few small habits make a big difference in how the final result looks.
- Always buy rods slightly longer than your window width for better coverage
- Use matching hardware throughout the room for a put-together look
- Paint over pencil marks before hanging curtains if they're visible
- Go for adjustable rods if you're not sure about the final width
- Use a rubber mallet to gently tap wall anchors flush before drilling
- Pre-drill pilot holes even into studs to avoid splitting the drywall
- Check that your curtain rings or hooks fit the rod diameter before buying
Small things like these make the difference between a DIY look and something that looks done by a pro.
Conclusion
Knowing where to place curtain rod brackets correctly takes the guesswork out of the whole process.
I always start with the right measurements, mark carefully, and check the level more than once. The height, the spacing, and the number of brackets all matter.
Skip one step and the whole setup can look off or feel unstable. Once you've done it right once, it becomes second nature.
Your curtains will hang better, your windows will look taller, and the room will feel more pulled together. It's one of those small home fixes with a big visual payoff.
So, which window in your home are you planning to rehang curtains on first?
Frequently Asked Questions
How far outside the window frame should curtain rod brackets be placed?
Place brackets 3 to 4 inches beyond the window frame on each side. This lets the curtains open fully without blocking light.
How high above the window should I mount the curtain rod?
Mount the rod 4 to 12 inches above the window frame. Going higher makes ceilings feel taller and rooms feel bigger.
Do I always need a center bracket for curtain rods?
Yes, for rods longer than 48 inches. A center bracket keeps the rod from sagging under the weight of the curtains.
Can I hang curtain rod brackets without drilling into studs?
Yes, but use heavy-duty drywall anchors rated for the weight. Studs are always more secure, so use them when you can.
What is the correct distance between two curtain rod brackets?
For standard windows, place brackets so there's no more than 36 to 48 inches of unsupported rod between them. Add center brackets for wider spans.